Showing posts with label stamping with sushi. Show all posts

Wednesday, July 14, 2021

What is it Wednesday-8 techniques to use on designer paper

I had such fun using all the designer papers that are on sale in the month of July till August 2 and featuring 8 different techniques you can use on designer paper.  

1. Place the Hand Penned DSP inside an embossing folder.
 

2. Place Beauty of the Earth DSP inside an embossing folder.  Then take a sanding block or sand paper and lightly sand the embossed area.  The white core will show as a contrast.


3. Place the In Good Taste DSP inside an embossing folder. Then take a blending brush, sponge or dauber and lightly ink the raised area.


4. Create the front of your card using scraps of Tidings of Christmas DSP.  Make sure each piece is glued securely, then emboss the entire front.  I should look as though the pieces of DSP are acutally part of a piece of paper.


5. Take a stencil and layer it over a piece of DSP and using a blending brush add a layer of ink over the DSP.  This card uses Pansy Petals.


This next card usies the Sweet Symmetry DSP and a different stencil for a total different look.
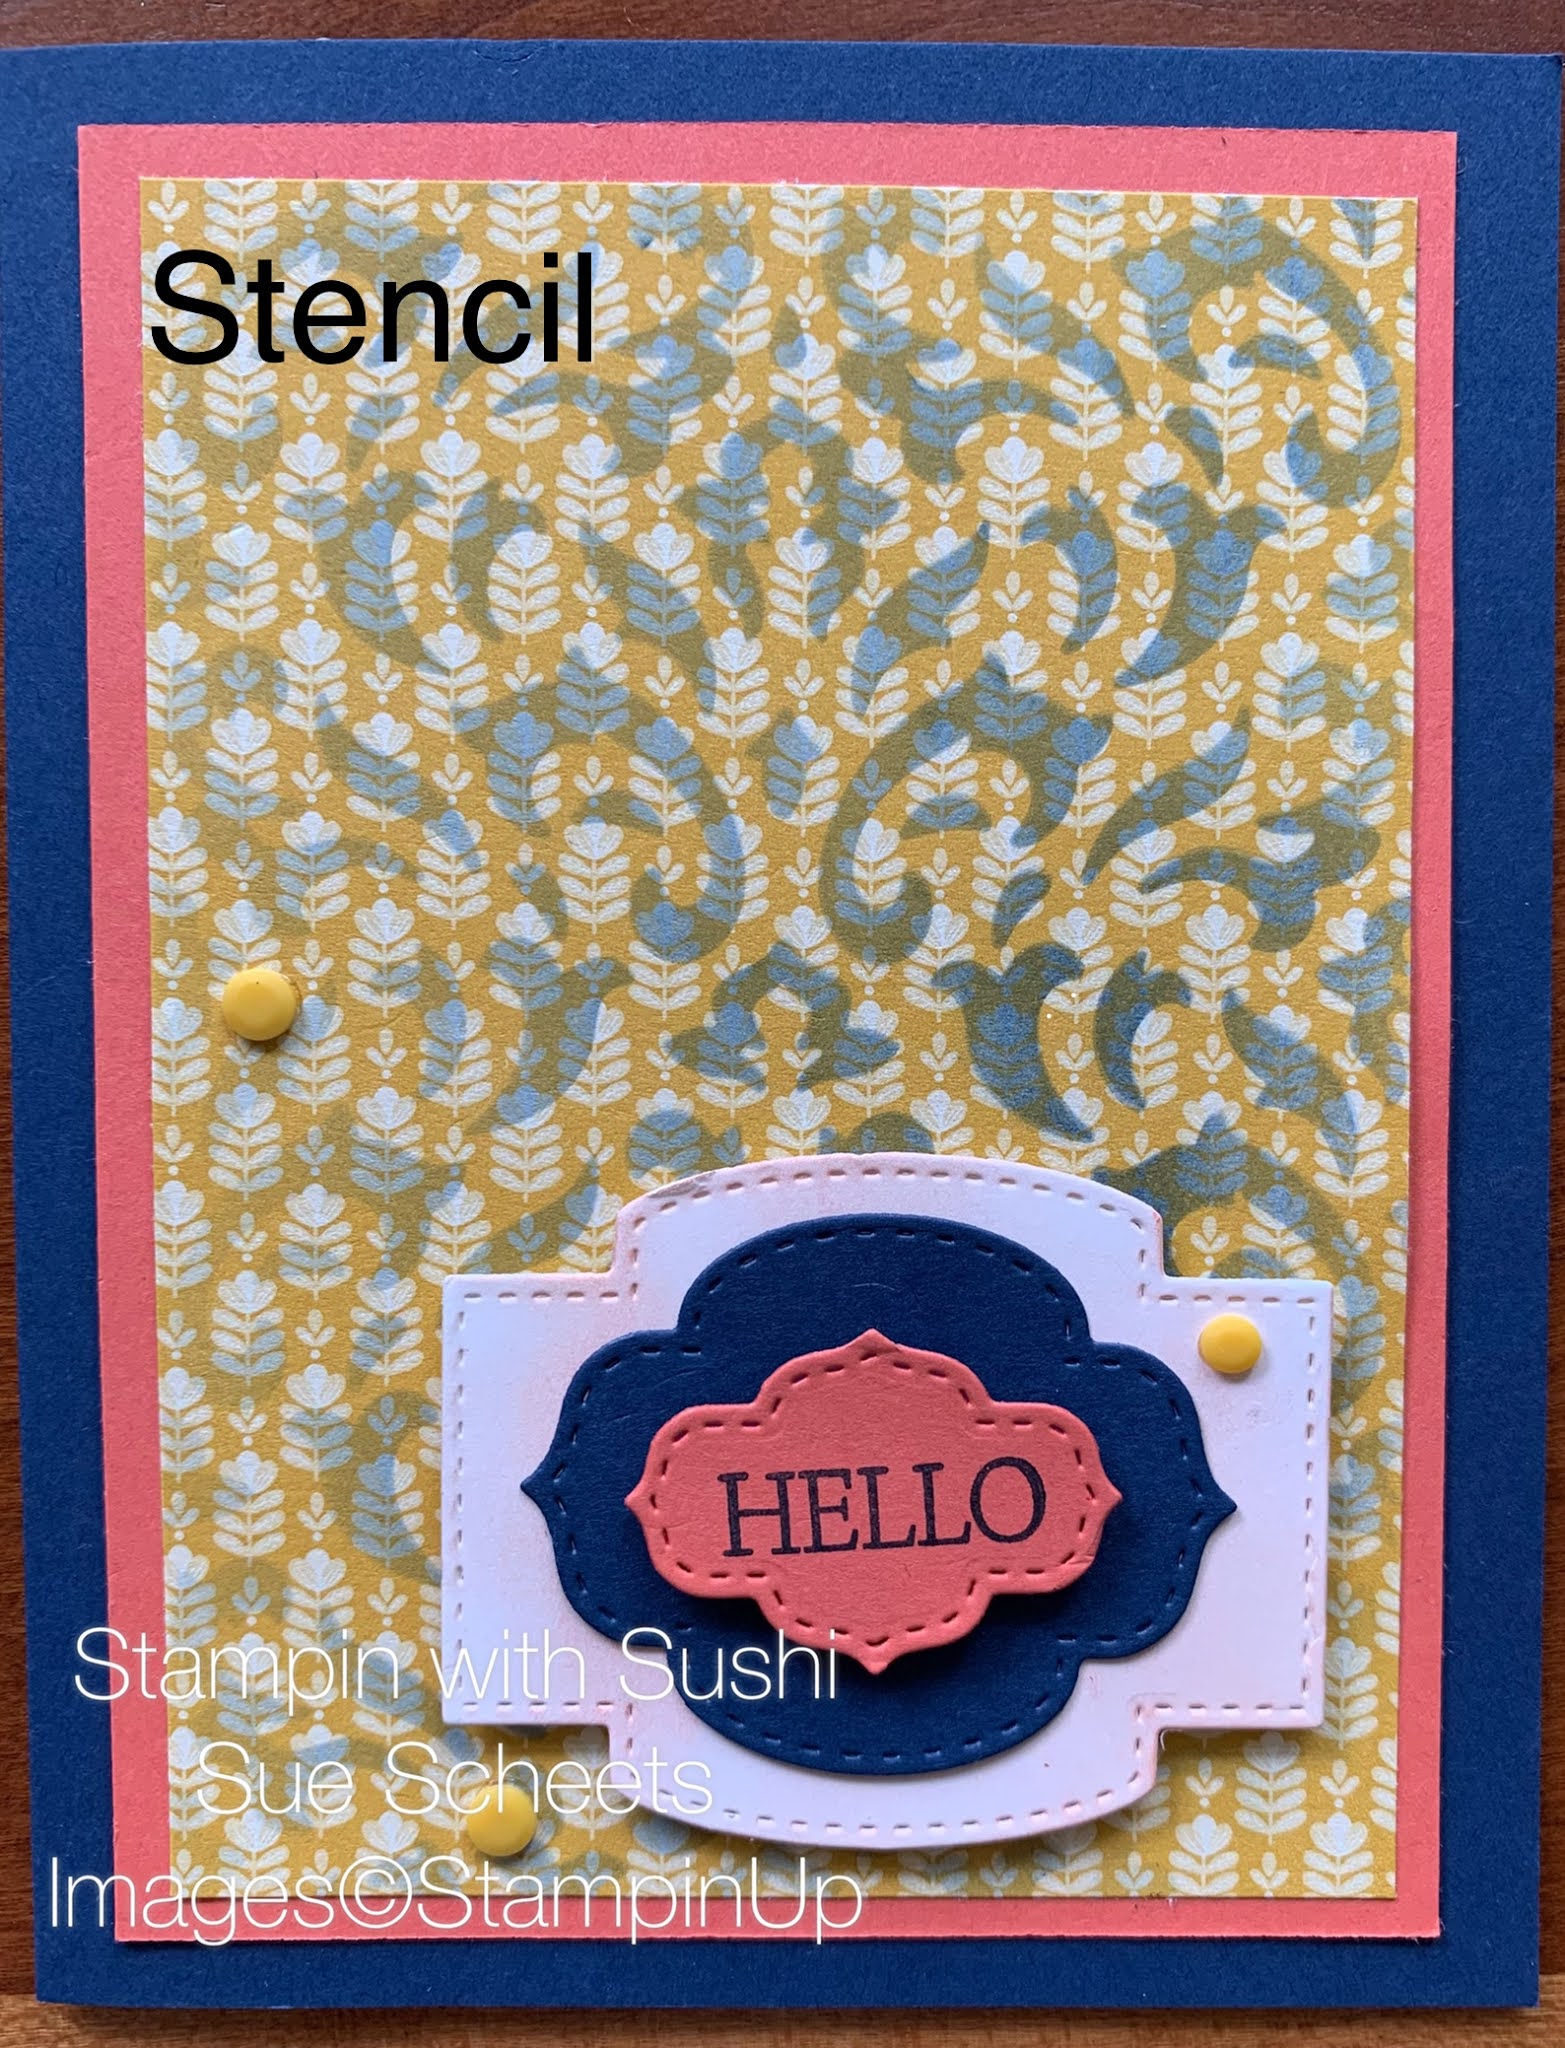

6.  Use a stencil and embossing paste on You're a Peach DSP. You don't have to stencil the entire piece of DSP. Partially embossed looks great.


7. Spot light an area of your Pansy Petal DSP, cut it out, punch a larger shape out of cardstock and attach them both to the spot you are highlighting.  This is a stamping technique that can also  be used with deisgner paper.


 8.  Find an intricate die, like this one from the Artistically Inked bundle and cut it out of Bloom Where You're Planted DSP.  I gives the cut out image a little more texture.


I had such fun researching these different techniques and making my samples from our wonderful designer papers. Find your favorites and order them during out wonderful sale.  Use this hostess code if ordering from me.
KWGV67E2


Product List

Which one of these techniques would you want to try first?  Let me know I will send you a card using that technique.  

Be sure and come back tomorrow when I will share the template for the week, and make 3 cards that are stepped up each time.

Till then,
Happy Stamping,
Sushi

Wednesday, May 19, 2021

What is a Super Snail?


What is a Super Snail?  It is the name of my team.  Way back about 15 years ago when I had at least 3 members we could name the team.  The members deicded on the name Super Snails since we used Snail adhesive to attach our card parts together.

This video shows all the ways you benefit from being a part of my team.  Here is a link that will direct you to my join up page if you are excited to join my team. 


So does that sound like something that would be fun to be a part of?  Contact me with any questions.

Tomorrow, I will step up the card I made on Monday, using my oldy but goody for the month.

Till then,
Happy Stamping,
Sushi

Friday, May 7, 2021

Put it together Friday-Faux Quilting card #59

Today is the day to put together the card supplies you cut out on Tuesday.

Here is the one I put together in the video I have posted below.  It sure was a lot of fun to put together and a great way to use up my 1 inch strips of designer paper.


 Have you tried to make one yet?  If not check out the video and make your card then post it in the comment below or on my Face book page called Stampin with Sushi.  I have a posting where you can share your photos with those who look.

I have been using the same stamp set and dies all this week and have had great fun doing so.  Next week I will be focusing on the bundle called Simply Succulents.  You might see some of the same designer paper, but very different stamp sets.  Hope you will join me next week for some new ideas.


Hope this video inspires you to make a faux quilting card.

Monday, come back for a simple card made from a template.
Till then, 
Happy Stamping,
Sushi

Tuesday, April 20, 2021

Cut it out Tuesday-Zig Zag quilt card card 56

My daughter Debbie came for a visit in March during her spring break as a 4th grade teacher.  We put together this quilt top for her daughter's bed.  I love the colors that Gracie picked out for her quilt don't you.  It was a simple design that was easy to put together. After it was finished I thought to myself that I could put together a card like this.  So........

I used some of the pieces I had from the March paper pumpkin kit and looked at the photo of the quilt and came up with this design.  What do you think?

Here are the supplies you need to gather and then you can make your own zig zag quilt card with me on Friday.

1. Card base 5.5 x 8.5

2. Coordinating card stock cut 4 x 4

3. Neutral card stock which will not show 3.75 x 3.75

4.3 different designer paper colors each one cut into 12 pieces that measure 1/2 x 1 inch.

5. Ribbon

6. Saying and embellishments

Get your supplies ready


Wednesday, March 31, 2021

What is it Wednesday-Here’s to you March cards

These cards have been created using the March paper pumpkin kit called Here's to You. I had a great time making them.


One of the cards you could make with kit supplies according to the directions.


The second card made with kit supplies.


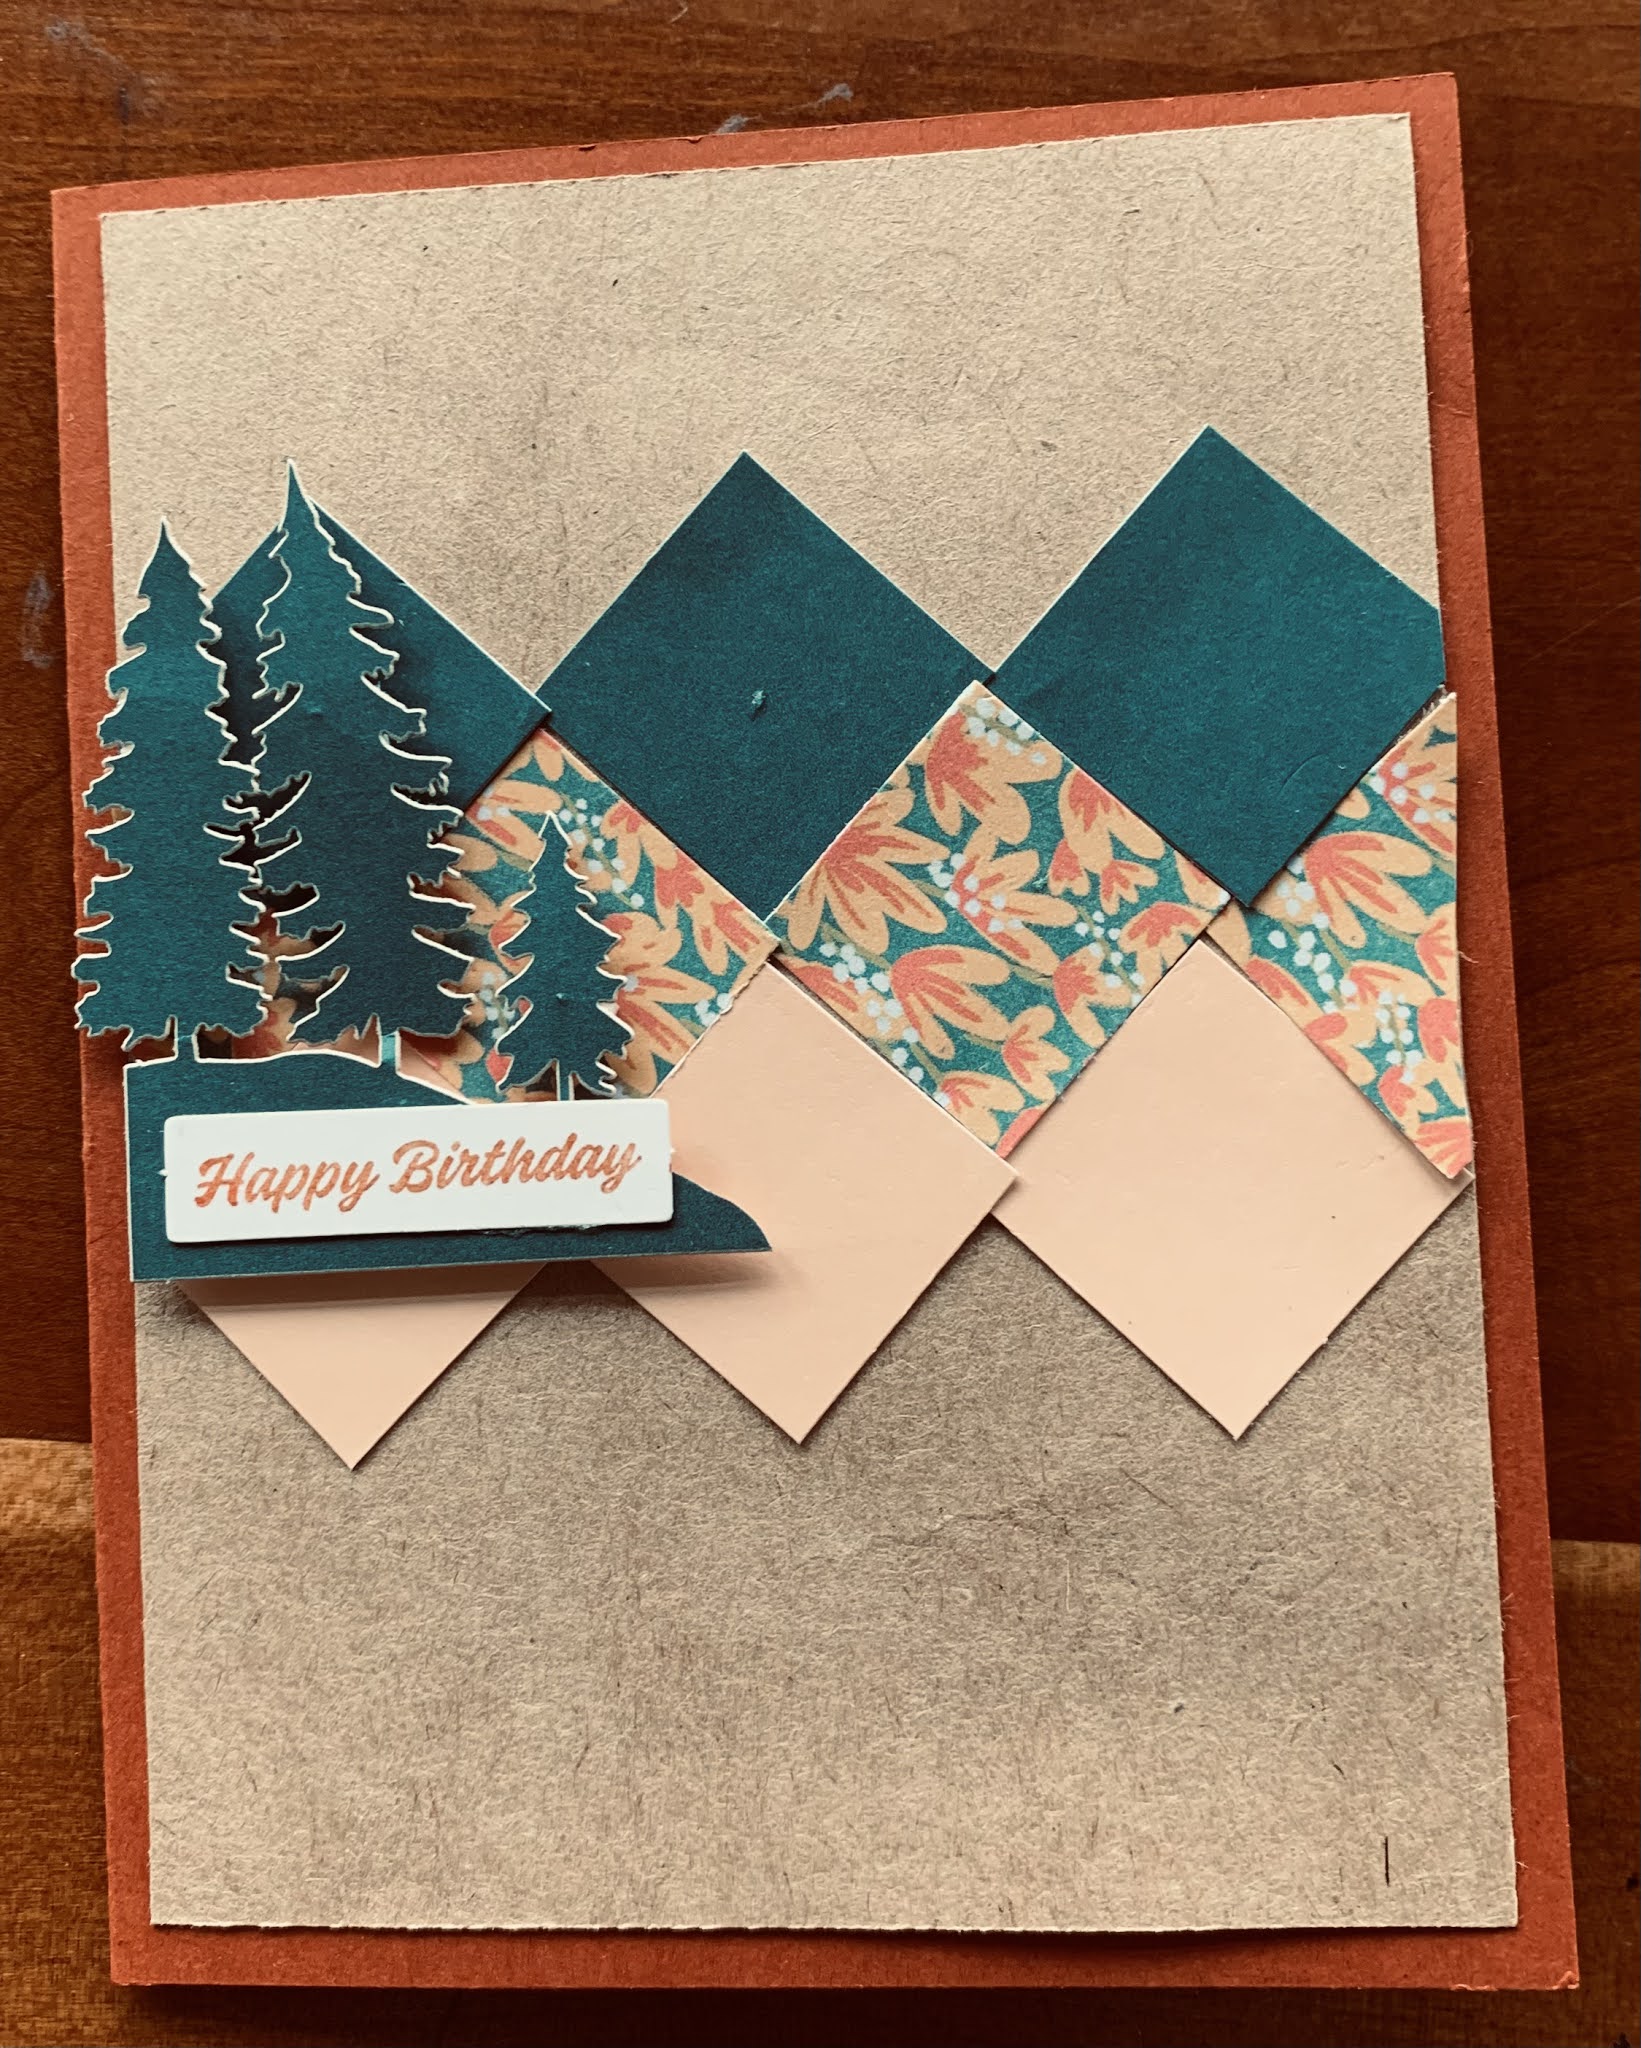
I made this card after being inspired by the quilt my daughter and I made together.


This card was inspired by Jackie Bolhius and used 1 inch squares.


A simple card


A few more details have been added.


And even more details.


I took one of the pictures and cut it into thirds.


Used stencil and stamp and blends for this card.


Star stencil with ink


Star stencil with white craft ink.


Star stencil with embossing paste.


Cloud stencil with ink.


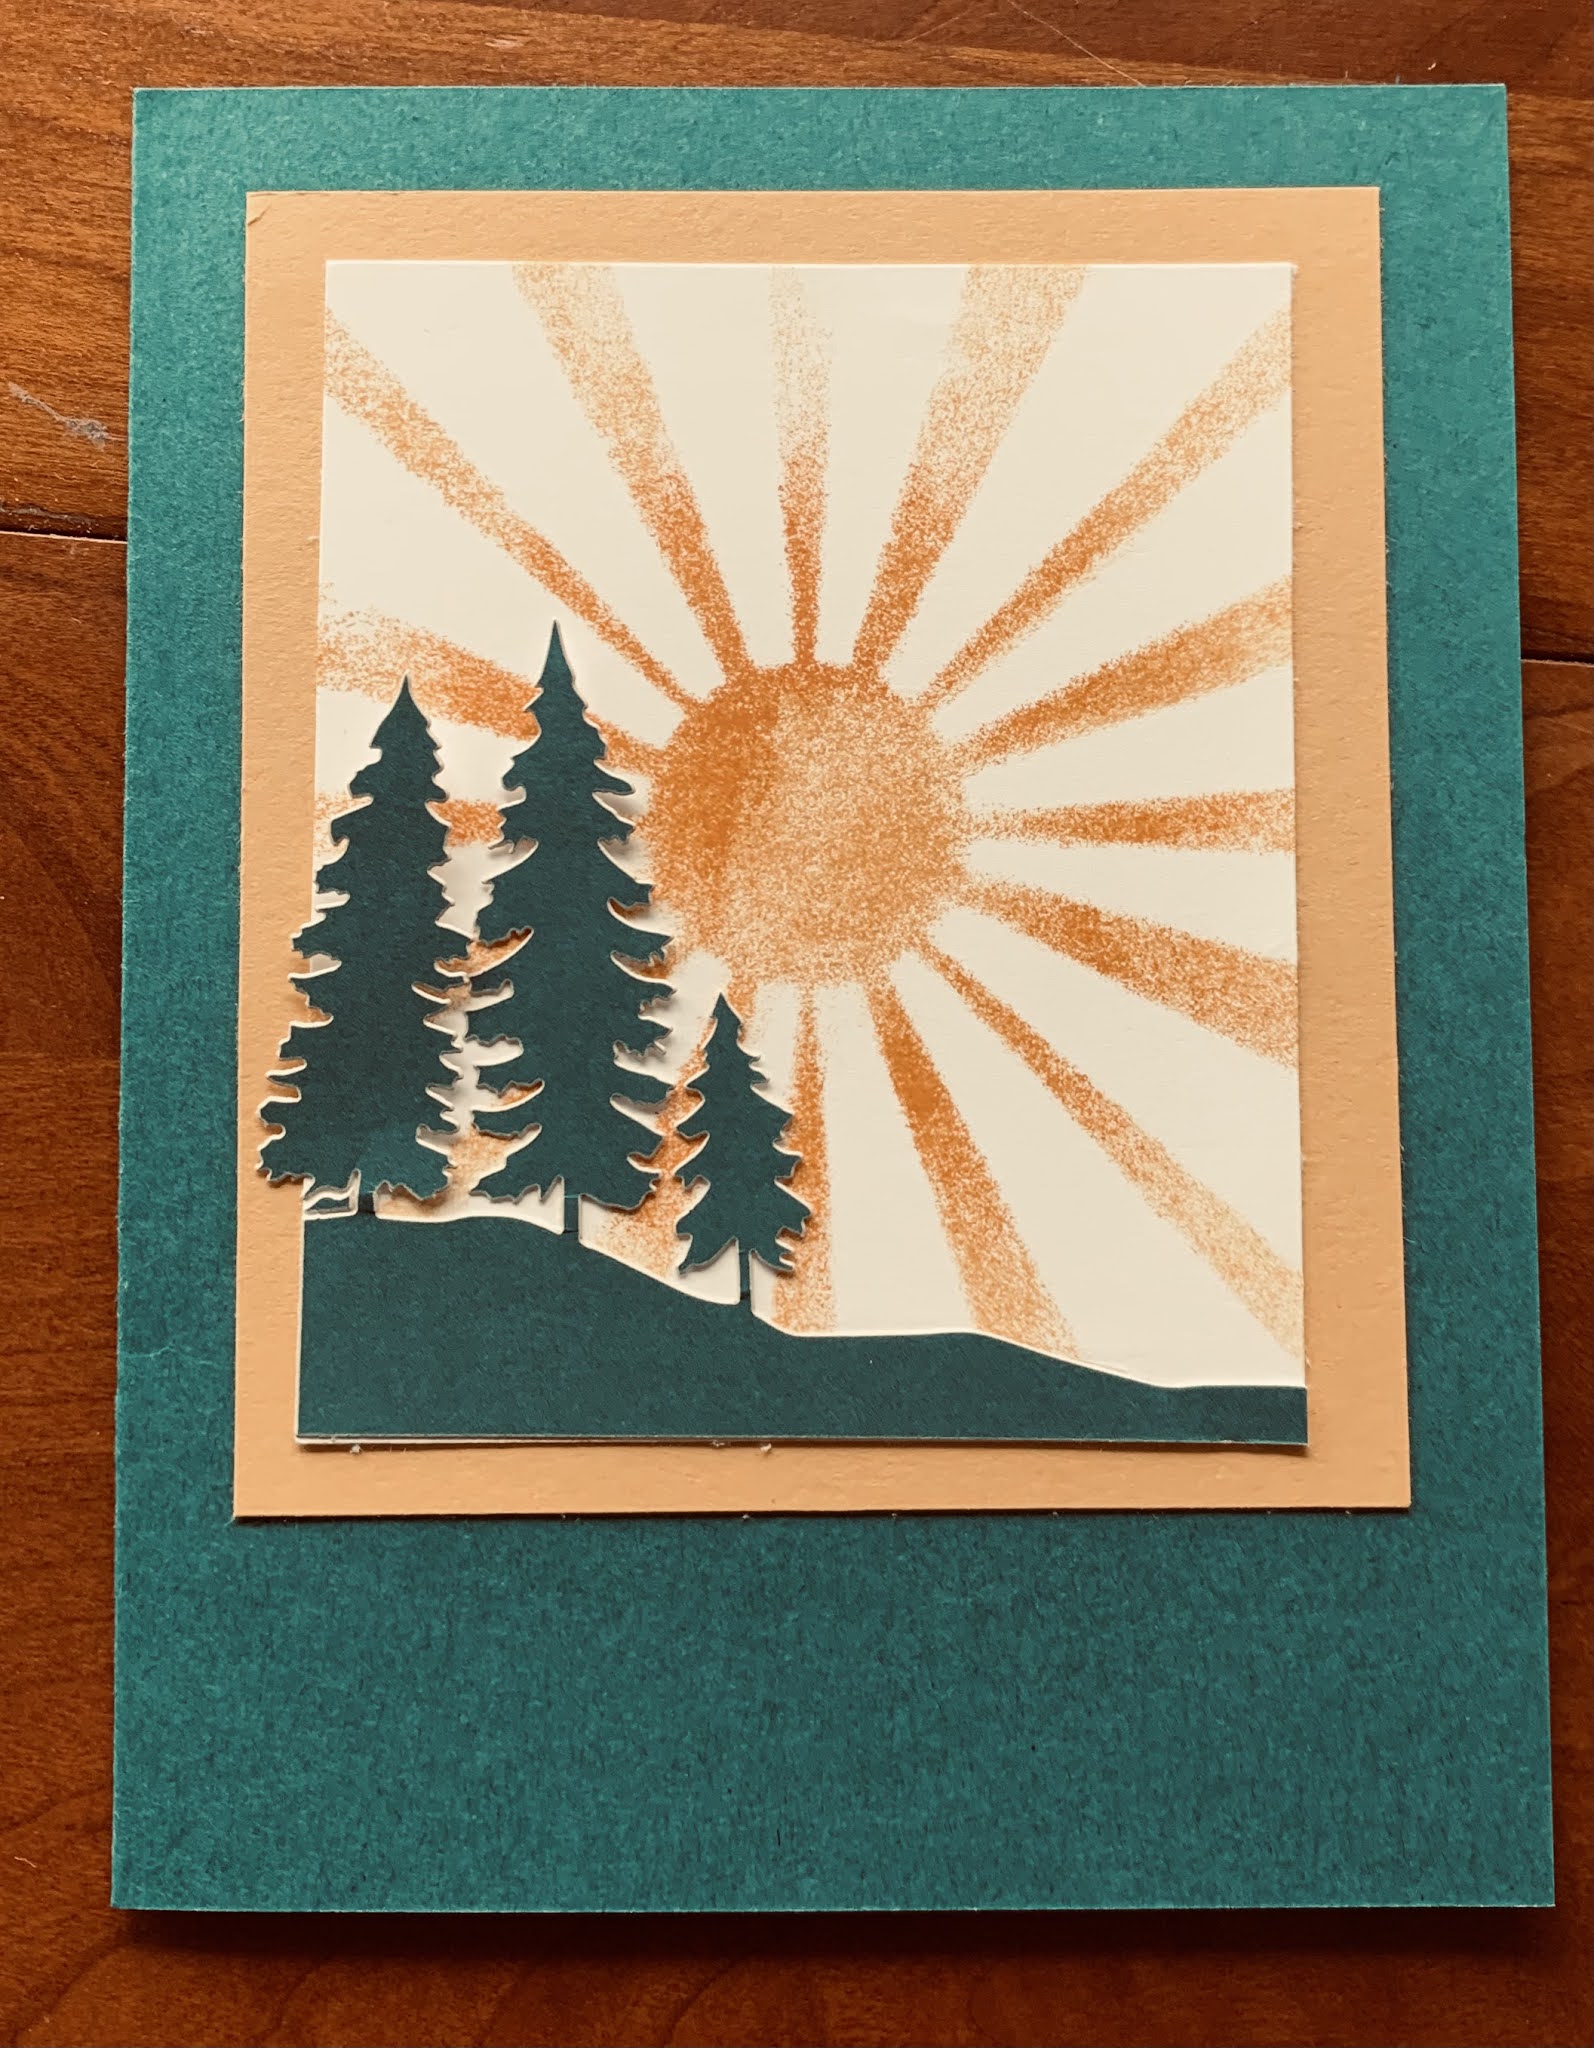
Sun stencil with inks.


Finally mountain stencil with embossing paste snow.

I hope you  have enjoyed looking at the cards I made with my March paper pumpkin kit.  I can't wait to see the April kit and have more fun creating alternates. I'll be back the last Wednesday of April with my sampples.

Tomorrow is step it up day and the one of the last few cards I will be making with the Ice Cream Corner Suite.

Till then, 
Happy Stamping,
Sushi


Tuesday, March 23, 2021

Cut it up Tuesday Here’s to you kit

Today is Cut it Up Tuesday with directions for getting your supplies together for the card of the week.

1. Card Base 5.5 x 8.5 scored at 4.25
2. Layer 1 5.25 x 4
3. 10 pieces designer paper cut into 1 x 1 inch squares.
-all the same
-3 colors cut 3,4,3
-10 individual pieces of different designer paper
4. Saying and accent piece


My first card I used pieces from the December Paper Pumpkin kit.


The second card used pieces from the Butterfly Brilliance designer paper.


Product List

Tomorrow I will be sharing ways that I have found to use the stencils in the March paper pumpkin kit which is called Here's to You.

Till then,
Happy Stamping,
Sushi
Tuesday, March 9, 2021

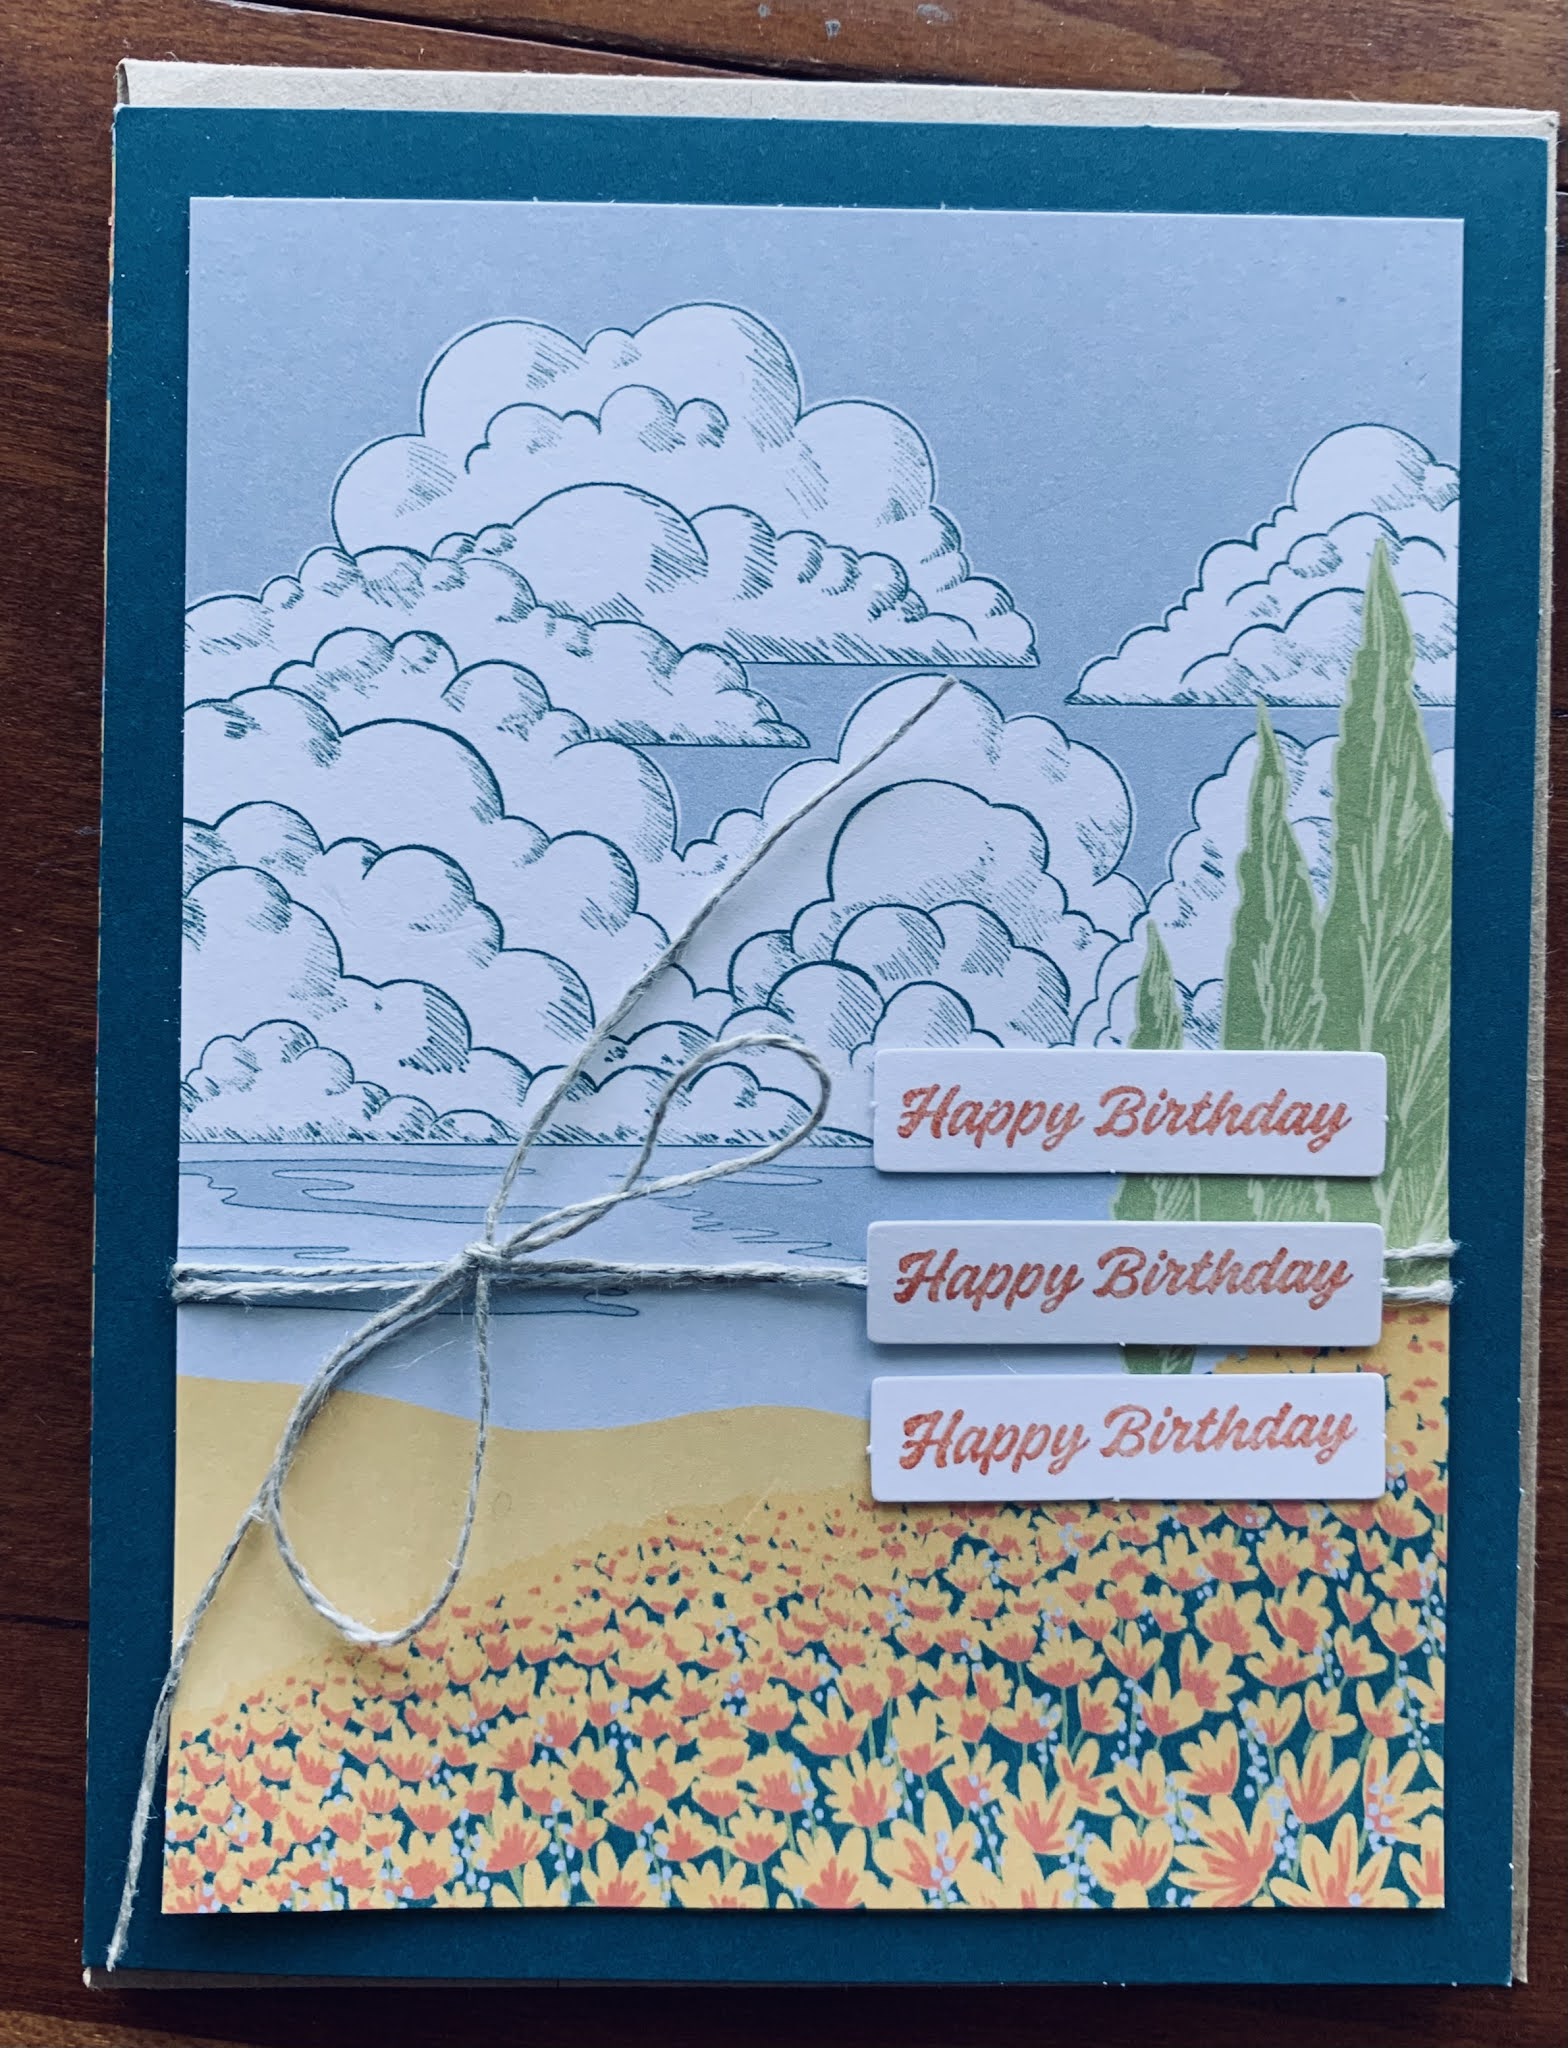
Cut it up Tuesday for 1 inch card #4 (51)

This is week 51 that I have been doing these Tuesday and Friday videos.  I have had so much fun making the videos and sharing my love of stamping with others.

This week the card is another card made with 1 inch strips.
Supplies needed
1. Card Base 5.5 x 8.5 scored at 4 .25
2. next layer 5.25 x 4
3. 4 1 inch strips of designer paper 
4. Saying and accessories

This card was made with the December paper pumpkin kit. Don't you just love that cute koala.


 This card used the designer paper from the Butterfly Bijou pack.

Friday I will be putting this card together on my Facebook Live at 10:30.


Product List

Come back tomorrow to learn the differences in the variety of papers that SU offers.
Till then,
Happy Stamping,
Sushi