Showing posts with label stamping with Sushi event. Show all posts

Wednesday, September 13, 2017

Holiday Catalog Launch Party-Carols of Christmas

 I love the tiny 3 by 3 cards.  Don't you?

1. They make perfect gift cards.
2. I use them in orders as thank you cards.
3. Out of one sheet of 12 by 12 paper you can make 8 cards.
4. Than can be mailed if you place them in a standard envelope.
5. You can use the envelope punch board to make a matching envelope if you wish.

The trees and the deer in the Carols of Christmas set work perfectly on a 3 by 3 card don't you think.

By now you should be able to guess that you can make this card at the Holiday Launch Party to be held on Saturday, September 16th from 10-3.

Tomorrow I will share a note card you will be able to create using the Painted Harvest stamp set. Check it out.

Monday, September 11, 2017

Holiday Catalog Launch Party-Winter Wonder Textured Embossing Folder

  Isn't this simple card great!

1. The Burlap background folder was stamped first.

2. The layer was then embossed with the Winter Wonder Textured embossing folder.

3. In order to make the image pop, the image was then lightly rubbed with sand paper.


4. The saying is from the set called Hearts Come Home, and the cute little snowflake is from the set called Snowflake Sentiments.

5. The final element is one of the Gold Faceted Gems.

Do you love this card?  If you will be in Springfield, Illinois on Saturday, September 16th, then you will be able to make this card as one of the make n takes.  Check out my website for more details.

Tomorrow I will feature another card you will be able to make using the Christmas Quilt stamp set.

Thursday, November 3, 2016

Home Decor-Decorate Your Own Tree


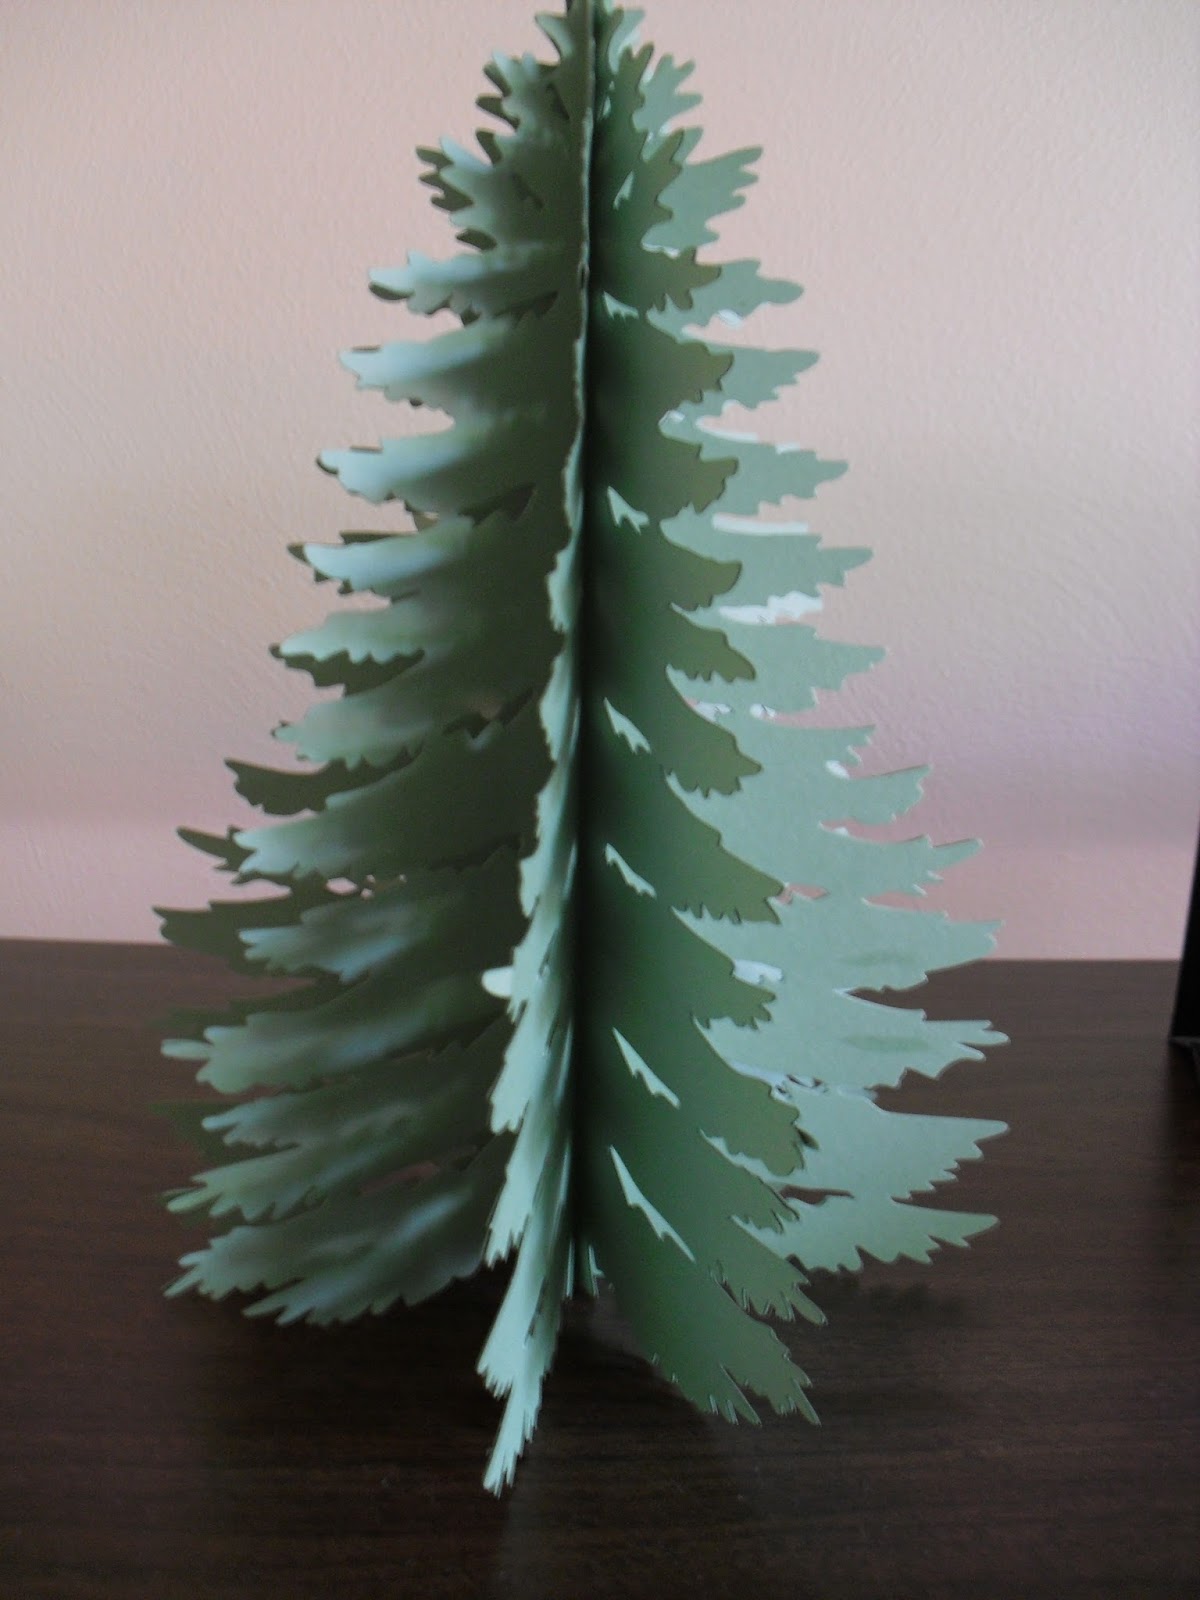
Does this tree look plain to you?  Well, come put one together and then decorate the tree with the accents of your choice.  Choose from ribbon, ornaments, chains, and whatever you think will make it yours.

Come back tomorrow to see some ornaments you can make at my Home Decor class on November 12th 10-3:30.

Tuesday, November 1, 2016

Home Decor-Wall Art


  Do you like to decorate your home for Christmas?  I do and think it is fun now and then to create something other than cards using paper and stamps.  I saw this idea on the cover of the Stampin Success magazine that we get as demonstrators with Stampin'Up!  It was fun to make and easy to boot.  When can you make this?

Decorate your home for Christmas

Saturday, November 12th 10:00 to 3:30

There are 3 projects to choose from

Come when you want and stay till the projects are finished

RSVP by Monday, November 7th

This framed tree project will cost $10 if you bring a frame, $25 if I provide a frame similar to this picture.

Come back tomorrow to see another project you can make on this fun crafting day

Saturday, September 12, 2015

Thankful Forest Friends

    Wouldn't you like to receive this cute little note card as a thank you note?  It features a couple of favorites. 

1. Into the Woods designer paper.  The design was hand painted before it became paper.

2. The stamp set Thankful Forest Friends has some cute forest animals and great sayings.  In this case I used a marker to highlight the saying.

3. Wooden In the Woods elements.  There are 3 the acorn, a leaf and a banner.  They make perfect accent pieces for a card.

   Finally, I made a matching envelope using the 2014-2016 designer paper stack and the envelope maker.  Another cute make n take featured at my open house.  And you may wonder where I got the idea for this cute card.  Straight from the new Holiday Catalog.  Our catalogs are a store house of ideas that are meant to be copied.

Thursday, August 20, 2015

Bubble Blowing Technique

Check out the background paper.  I used Tempting Turquoise, and Night of Navy.


    Last night was my monthly technique club meeting. I looked all over the Internet for a technique I thought would be fun and found Bubble Blowing to be what I was most interested in.  Come to find out Lisa does this will her preschoolers.  So, I guess I have come full circle.  It really was fun.  I watched a great video produced by Dawn Griffith from Stampin'Up!

Bubble Blowing results
 
 
1. Fill a paper cup with 3 squirts of liquid hand soap.
 
2. Add reinker to make the color you desire.
 
3. Finally, add water to equal the amount of hand soap you placed in the cup.
 
4. Stir, then blow into the cup using a straw until the bubbles make a mound at the top of the cup.
 
5. Press your card stock on top of the bubbles until you get the paper covered to your liking. You may have to re-blow to get the results you want.
 
6. Press paper towel onto any bubbles that remain on the paper.
 
7. Let dry.  Or repeat the procedure for an additional.
 
I tried using white reinker.  It dries a lot clearer so I added more for a later project.

 
How did Lisa make this technique work with preschoolers?  She put a  hole in the straw so if they sucked instead of blew through the straw the ink would go out of the straw.  Clever idea I never would have thought about.