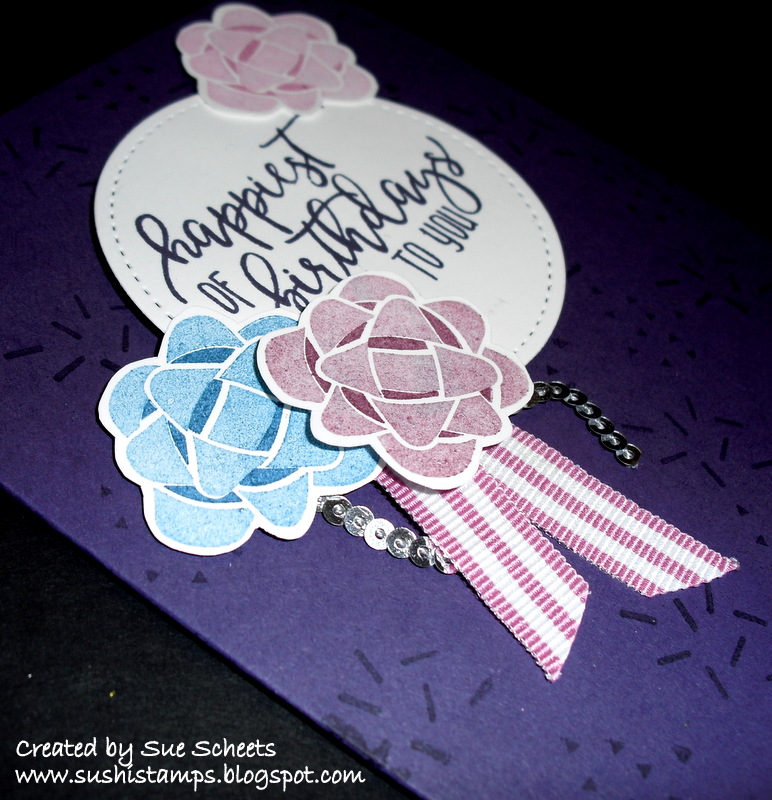
Don't you just love this cute little bow! It is made using the technique called two step stamping. What exactly does that mean?
1. First you stamp the darkest color first. This makes it easy to look through a photoplymer stamp to see exactly where to place the second stamp.
2. Next you use the very same color but stamp it on an extra piece of paper first before placing it on your card stock.
3. Look through the stamp and find the already stamped piece. Turn your stamp until the stamps line up perfectly, then stamp and you now have a really cute, complicated looking bow that was made in two easy steps.
Do you like the look of this stamp set? Check out some of the other cards I found on my Pinterest page featuring the Picture Perfect Birthday stamp. Can you find my inspiration for this card?
Tomorrow I will share a WOW card made with this same stamp set. Till then have some fun stamping.
Doesn't this look like a simple card to make? I think that is one of the reasons I decided to feature it. Check out this website to see if there are more simple cards to create. badabingcrafting@blogspot.com
This stamp set is great because it is two part stamping. First, you stamp the outline in Basic Black and then the green fills in the outline of the word season. Very easy to place properly.
Paper- Christmas Around the World designer paper, real red Emerald Envy, and Whisper White card stock
Thinlit- Lovely Laurel, Layering Ovals
Ink- Basic black, Emerald Envy
Tomorrow I will share a simple card with a WOW factor.
There are several things I love about this card featured on a blog by stampwithamy.
1. It is pretty simple to create.
2. The embossing folder Winter Wonder is a favorite.
3. The candles are so easy to stamp. They are a 2 step stamp. First you stamp the outline in a dark color. Then the candles are stamped with two separate stamps which is how you can stagger the colors.
You might wonder how I got the garland behind the candles. I did not stamp them first but last. I created a mask, by stamping the candles on a post it note, then placed the note over the stamped image and then stamped the pine bough. When I took off the post it note the garland was behind the candles.
This week I am featuring the Merry Patterns stamp set which is available free with a $300 minimum order. If you don't want to place an order for that much, then get some friends to order and when all the orders total $300 you have earned the set as one of your hostess benefits. Check with me if you have any questions, or would like to book a party. We can make some of the cards I am featuring this week at the party so everyone can have a chance for a hands on experience.
Tomorrow I will show off a very simple card made with this set.