Showing posts with label designer paper stack. Show all posts

Friday, July 1, 2016

Serene Scenery-Fix it Friday


  This card should look familiar.  It was one of the featured cards from yesterdays template cards.  Here is how I fixed it....

1. First I added strips of the designer papers I used all week.  My husband was not impressed, but I tried to layer the papers so they looked like sky, leaves, ground and grass.  

2. Then I used the saying from the set called Me=Grateful.  I stamped it and cut it up placing each part of the saying in a different section of the card.  

3. I tied the ribbon to try and bring the parts together.  It seemed to work for my husband so I guess that was a success.


Here is an over view of Serene Scenery week.  It was fun to try and create cards that met each one of the categories for the week.  

Come back next week to see what I can do with my favorite stamp set that is due to come in the mail today.  You will have to wait till Monday to see what the set is called.  

Thursday, June 30, 2016

Serene Scenery-Template Thursday

This design is made to look like the Bokeh technique.


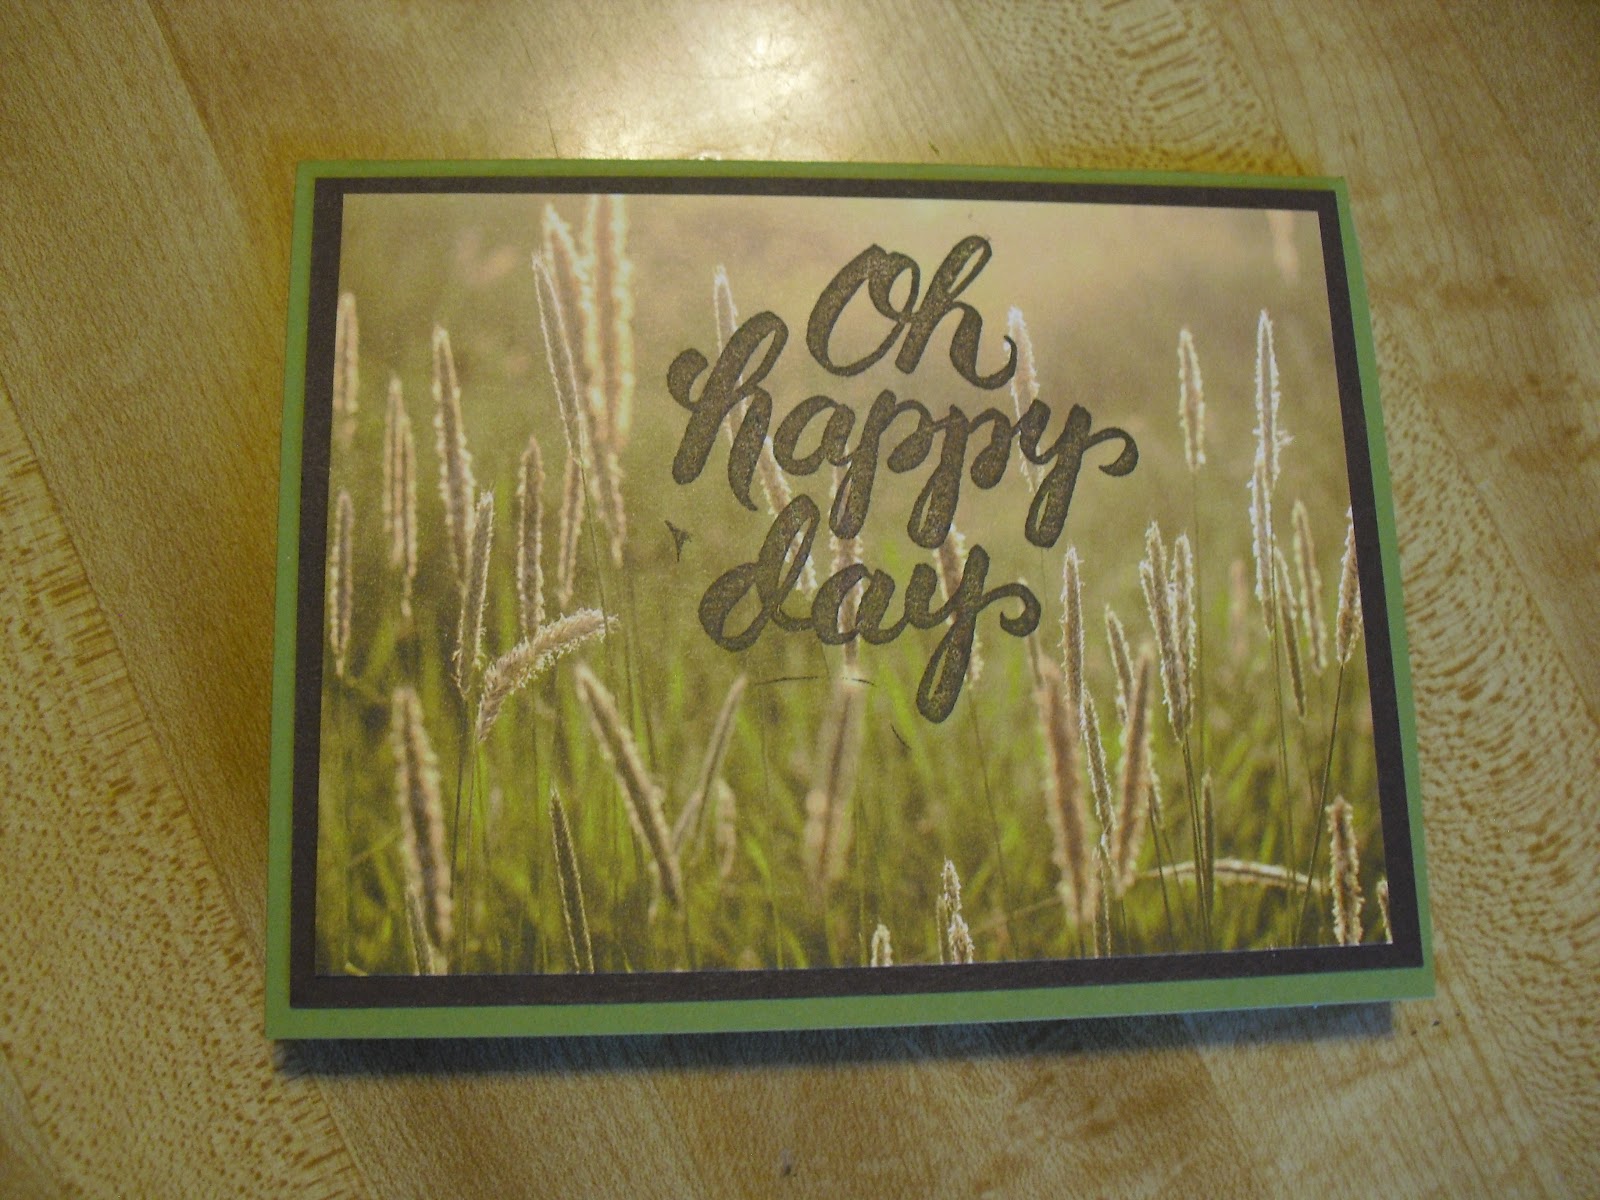
Sometimes the designer paper is so perfect it just does not need much else to go with it.  The stamp set I chose to use on these papers is called Scenic Sayings.  It is bold and large and designed  to go with this paper.


    I love watching the grasses wave in the wind.. and yes it makes it a happy day.

  I am sure you love like me to blow the seeds from the dandelions in the wind.  I love how the picture shows them just on the bottom of the design leaving plenty of room for a saying or accent piece.


The sun shining through the leaves made a perfect spot for this saying. Don't you think anyone would love to get one of these cards?  Simple but beautiful in the art work of the paper.

Come back tomorrow to see how I have taken one of these cards and fixed it up.

Tuesday, June 28, 2016

Serene Scenery- Technique Tuesday


  Does the background of this card remind you of a quilt?  This technique is called the Herringbone Technique and is a great way to use up designer paper scraps.

  I used 3/8 inch strips of 4 patterns from the Serene Scenery designer paper stack. One side looks like photos and the other side is designs focusing on the color combo of the paper pack.  I chose the design side.

   After you cut the strips you layer them in a pattern on some adhesive.
Look for a how to video on this technique in the future on Sue Scheets youtube channel.

Come back tomorrow for a Wow card that uses another set from the new Catalog that I really like.

Monday, June 27, 2016

Serene Scenery-Miscellaneous Monday


Have you see the designer paper pack called Serene Scenery?  Each one of the papers has a side that looks like a photograph of amazing scenes of nature.  They could almost stand alone on a card.  I fell in love with this pack of papers when they were demonstrated to us at On Stage in April.

This paper looked like a sandy beach with the waves gently rolling to the shore.  So what better stamp to place on the card than the birds from the Wetlands stamp set.  The card was so simple to make, but really  accentuates the designer paper in a wonderful way.

Come back tomorrow to see how this paper can be used in a technique called Herringbone.

Tuesday, June 21, 2016

Always an Adventure-Technique Tuesday

     Can you see the cute balloons on this card.  The final measurements for the card are 4 1/2 inches by 6 inches.  Well, it would not fit into any of our standard envelopes which are meant for 4 1/4 by 5 1/2 inch cards.  So.....

1. I got out my handy envelope maker and checked out the possible card sizes. The closest one I could find was 4 1/2 by 6 1/2.

2. I found that I needed to cut my paper at 8 7/8 by 8 7/8.  Do you recognize the paper?  It is the new envelope paper and comes in 4 designs and each one of the new in-colors.

3 I then placed the paper on the envelope maker at 3 3/4 inches and just scored all the edges.  When I was finished the card fit in perfectly.

So when you open the envelope this is what the card looks like, but when you take the card out of the envelope and set it on the table it looks like this.....

I made the mountains 3 different shades of brown,knowing that they look darker the further away they are.

I used the balloon framelit and cut out the balloons from the Playful Palette designer paper stack.

I stamped the clouds in Soft Sky ink to match the card stock and found a saying from the set called Thoughtful Banners. This was fun to create.

Come back tomorrow to see a wow card using this wonderful stamp set.

Monday, June 13, 2016

Painter's Palette-Miscellaneous Monday


  This looks like a card but is actually a wish list booklet that people got to make at my New Catalog Party.  I used the big swish from the Painter's Palette set and stamped it in each one of the new in-colors.  Now that I have used them quite a bit I have to say I really do not have a favorite.  The designer paper accent is from the paper stack called Playful Palette and coordinates really well with the stamp set.

Come back tomorrow to see how I use bleach with this really bold stamp set.

Monday, April 11, 2016

Miscellaneous Monday-Scrapbook Your Life for March


  I love the look of black and white.  And for a scrapbook page any picture would look good with black and white.  I decided a little bit of red and dark pink would make a great accent piece to this layout.

  Cindy said she was going to put some pictures of her black and white cat on this layout.  Wonder what I can find to put there?


   Come back tomorrow to check out my latest you tube video demonstrating the Sunburst Technique.

Monday, January 11, 2016

Groovy Love Yogurt container treat bag

   What does the shape of this treat holder look like to you?  It is called a yogurt box and is supposed to look like a container of yogurt.  And best of all it is easy to make.

1. Take a 6 by 6 piece of paper (I used the new Love Blossoms paper stack.)

2. Put a strong glue or sticky tape on the bottom and one of the sides.

3. Fold one side onto the other to form a tube.

4. Pinch the bottom of the tube and if you have a crimper crimp that bottom edge to help the tape hold better.

5. Place your goodies inside the tube and crimp the top in the opposite direction to make the yogurt container.  Crimp this edge also.  Decorate the rest of the container in any way you wish.( I used the stamp set called Groovy Love and the heart punch)

   I would have to put some kind of chocolate inside mine, what would you put in yours?


Saturday, August 15, 2015

Knollwood- DSP Creativity


     Can you see how I used the various papers from the Adventure Bound designer paper pack.

1. I created the bird using the water paper because I thought it looked a bit like feathers.

2.  The grass made a great looking branch.

3. I used the brick background to make the flowers and the grey on the back of the same paper for the dot in the center of the flower.

  You might wonder how the seniors could get the teeny tiny center on the flowers.  I used our new fine tip glue pen to attach the centers on the flowers.  It will make gluing tiny items so easy and will be available to purchase on September 4th. Are you as excited as I was about this new item?

Saturday, July 11, 2015

Stamping with the Elderly-Designer Paper Focus


     At the end of every stamping year I end up with leftover materials that have retired.  So, I try to use them when I go and stamp with my lady friends at the local Assisted Living facility.  This time I decided to use the leftover papers from the Moonlight designer paper stack.  I have already learned a few things I need to do before I meet with the ladies.

1. Prepunch any punched items because they have a hard time pressing the punch all the way.

2. Prestamp some of the smaller words because they tend to rock the stamp and get extra lines where they are not wanted.

3. Use designer paper whenever possible so they have some choices about which side of the paper to use. 

   I love using the paper stacks for these cards because all the designs coordinate and make it easy to use any side of the paper for the card.

   I've mentioned before a reason I love to go is it reminds me of stamping and card making with my mother who passed away two weeks before she turned 90.  It's just like being with mom again.