Showing posts with label Stampin Up. Show all posts

Friday, July 16, 2021

Put it together Friday-6x6 3 from 1


The card of the week is pretty easy. I found it listed with metric measurements and was able to transfer them to standard measurement.  So a big thankyou to Jess Luna for her original design. You start with one 6 x 6 piece of designer paper (DSP) and then cut it according to the following instructions.


1. Cut a  3/4 inch strip from the bottom of your DSP. Trim this strip to 5 1/4. You should end up with a 3/4 inch square.

2. From the left hand side of the DSP cut a piece that is 2 1/2 wide.

3. Take that strip and cut it in half.  Each mew strip should measure 1 1/4.

4. Place each strip on top of the other and cut the strips into 1 1/4 inch squares.  You should end up with 8 squares and a little piece left over.

5. Cut your remaining piece of DSP so it measures 3 1/2 x 4 3/4.  Now you have your pieces ready to make your 3 cards. 

ch

Choose 3 card bases 5 1/2 x 8 1/2 in either 3 coordination colors, or from the same color card stock.
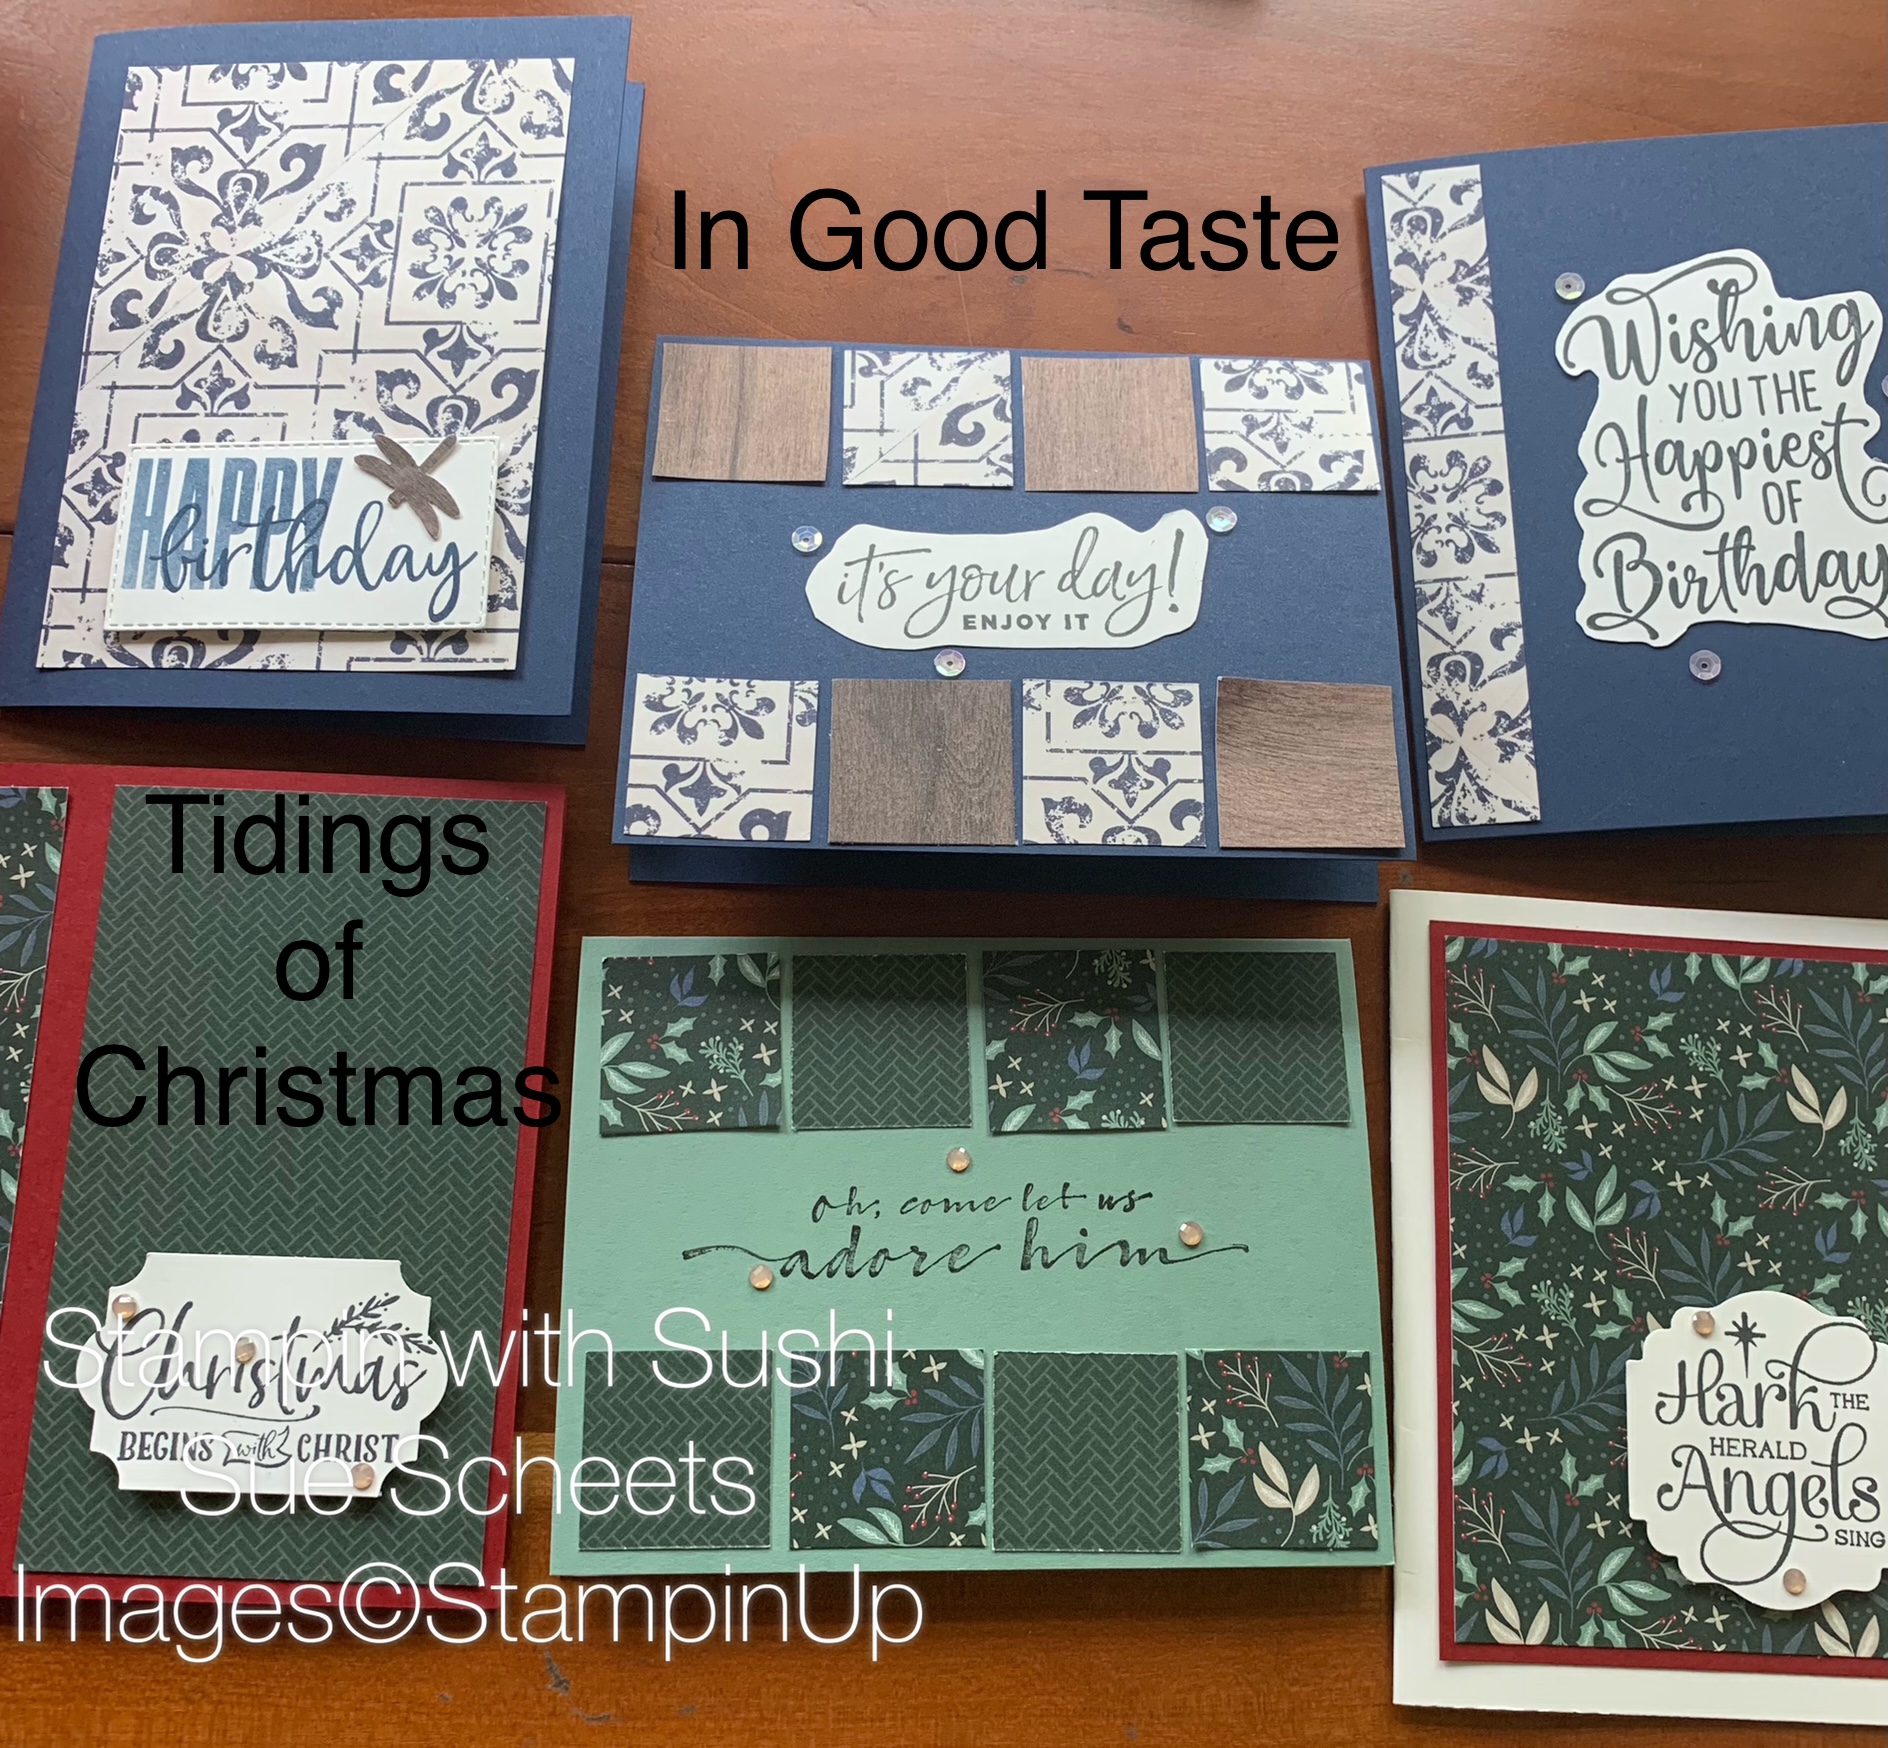
The first card uses the 8-1 1/4  inch squares.  Place them on the top and bottom of your card in any order.


This second card uses the large piece of DSP.  Center it on the card base of your choice.

The final card uses the small strip.  I can be place where ever your wish. 

Now you can add sayings and ribbon and whatever embellishments your wish.


Product List

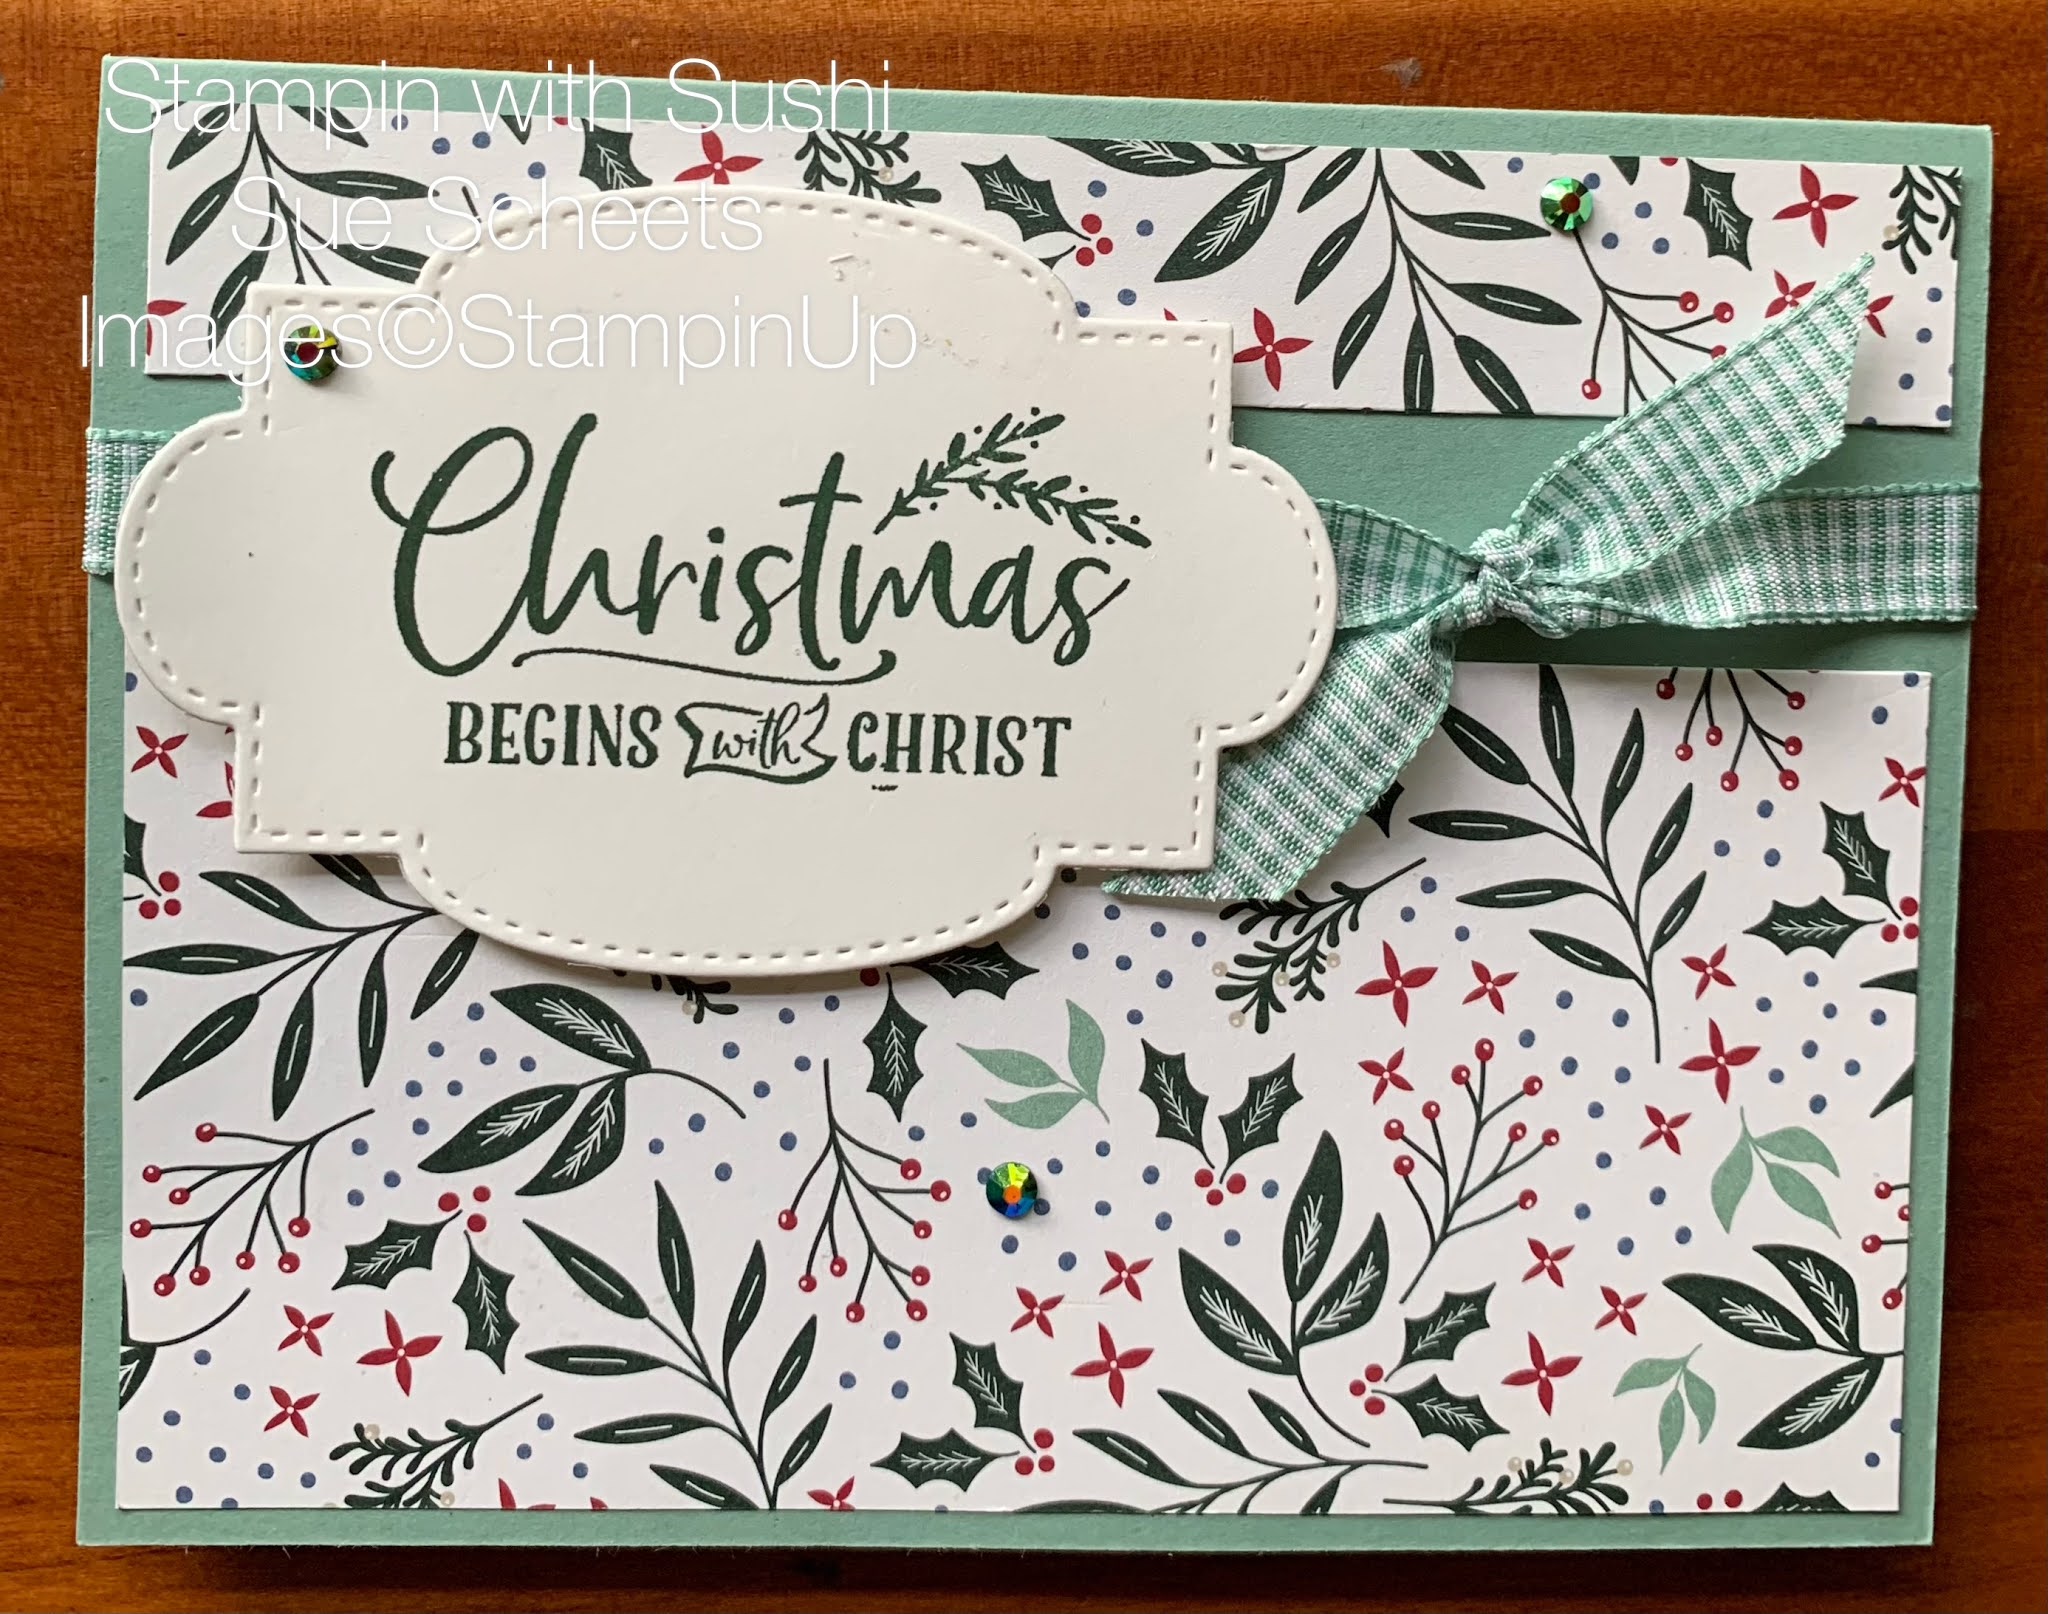
This is such a fun way to make a lot of cute simple cards.  Here are some I made with the Tidings of Christmas paper.


What a fun week!  Now, for a fun weekend.  May daughter, Debbie who lives in Tennessee is coming for a quick visit with her two kids.  I have not seen them for almost 2 years.  Can't wait till they arrive tomorrow.  I hope you all will have a great weekend of your own.

Come back Wednesday for What is it Wednesday.  I will be sharing several different things you can do with embossing folders. The card will be a Pinwheel Tower card.  Looks difficult, but is quite easy to put together.

Till then, 
Happy Stamping,
Sushi

Wednesday, July 14, 2021

What is it Wednesday-8 techniques to use on designer paper

I had such fun using all the designer papers that are on sale in the month of July till August 2 and featuring 8 different techniques you can use on designer paper.  

1. Place the Hand Penned DSP inside an embossing folder.
 

2. Place Beauty of the Earth DSP inside an embossing folder.  Then take a sanding block or sand paper and lightly sand the embossed area.  The white core will show as a contrast.


3. Place the In Good Taste DSP inside an embossing folder. Then take a blending brush, sponge or dauber and lightly ink the raised area.


4. Create the front of your card using scraps of Tidings of Christmas DSP.  Make sure each piece is glued securely, then emboss the entire front.  I should look as though the pieces of DSP are acutally part of a piece of paper.


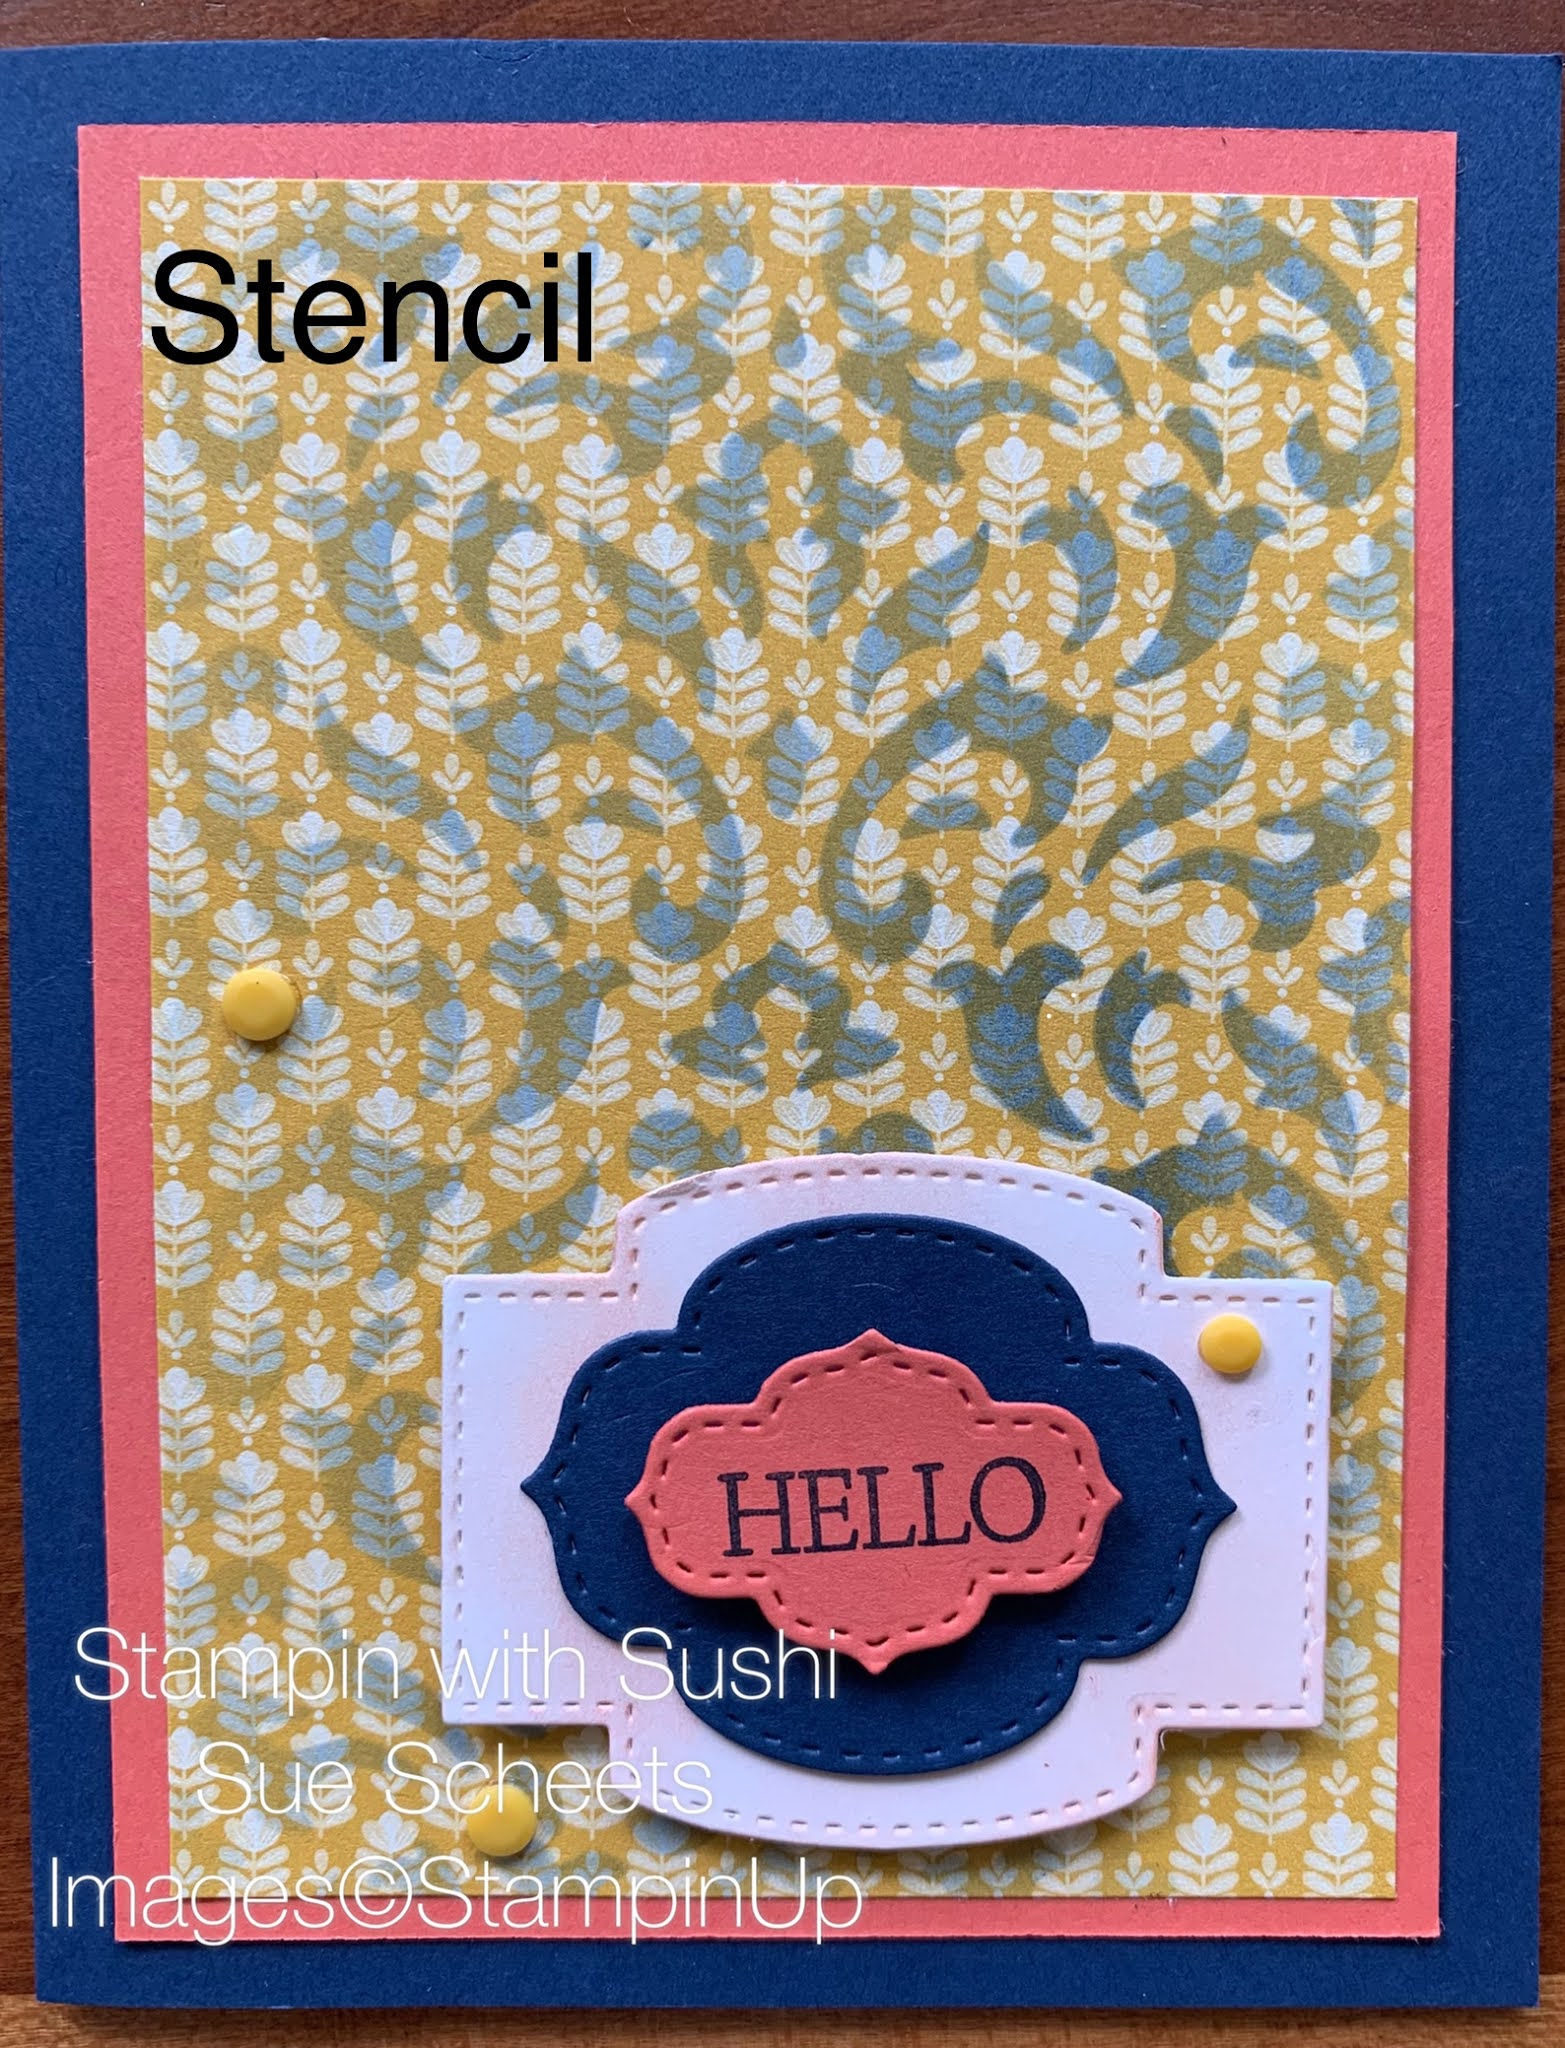
5. Take a stencil and layer it over a piece of DSP and using a blending brush add a layer of ink over the DSP.  This card uses Pansy Petals.


This next card usies the Sweet Symmetry DSP and a different stencil for a total different look.


6.  Use a stencil and embossing paste on You're a Peach DSP. You don't have to stencil the entire piece of DSP. Partially embossed looks great.


7. Spot light an area of your Pansy Petal DSP, cut it out, punch a larger shape out of cardstock and attach them both to the spot you are highlighting.  This is a stamping technique that can also  be used with deisgner paper.


 8.  Find an intricate die, like this one from the Artistically Inked bundle and cut it out of Bloom Where You're Planted DSP.  I gives the cut out image a little more texture.


I had such fun researching these different techniques and making my samples from our wonderful designer papers. Find your favorites and order them during out wonderful sale.  Use this hostess code if ordering from me.
KWGV67E2


Product List

Which one of these techniques would you want to try first?  Let me know I will send you a card using that technique.  

Be sure and come back tomorrow when I will share the template for the week, and make 3 cards that are stepped up each time.

Till then,
Happy Stamping,
Sushi

Thursday, July 8, 2021

Step it up Thursday-Expressions in Ink

Does this template look familiar?  It is the template of the week.


Here is the simple card I made using the Espressions is Color paper pumkin kit for June and the Expressions in ink designer paper.

Step it Up number 1

1. First, I added evening evergreen card stock in back of the designer paper strip.
2. Secondly,  I added a strip of designer paper in the back of the banner.
3. Next,  I added a longer saying.
4. Finally, I added a focal point by using 2 of the stamps in the paper pumpkin kit.

Step up number 2

1. First,  I stamped an image on the card base to add more texture.
2 Next I added vellum as my banner, and then placed the die cut from the Artistically Inked bundle on top.  I used stamps from the bundle for my saying and focul point.


 That was great fun.  Next week I will make all 3 cards on Thursday for my Step it Up Thursday video and blog post.


Product List

Be sure and check back tomorrow to see how to put together the card of the week.

Till then,
Happy Stamping,
Sushi
Wednesday, July 7, 2021

What is it Wednesday-Designer Paper Sale

Today, I am sharing a simple 6 by 6 one sheet wonder that makes 3 cards and shown how it looks with all the designer papers that are on sale till August 2. I love how each paper makes the cards look so different.  What are your favorite papers that are on sale.


Product List

Checkout my homework, to details for the one sheet wonder and some of the cards I made in this video.

I don't know about you, but I love any time I can use designer paper and make simple cards to send to friends.

Come back tomorrow to check out the step it up cards I have made this week. 
Till then, 
Happy Stamping
Sushi