Wednesday, September 30, 2015

Perpetual birthday calendar stamp set-Fall card buffet


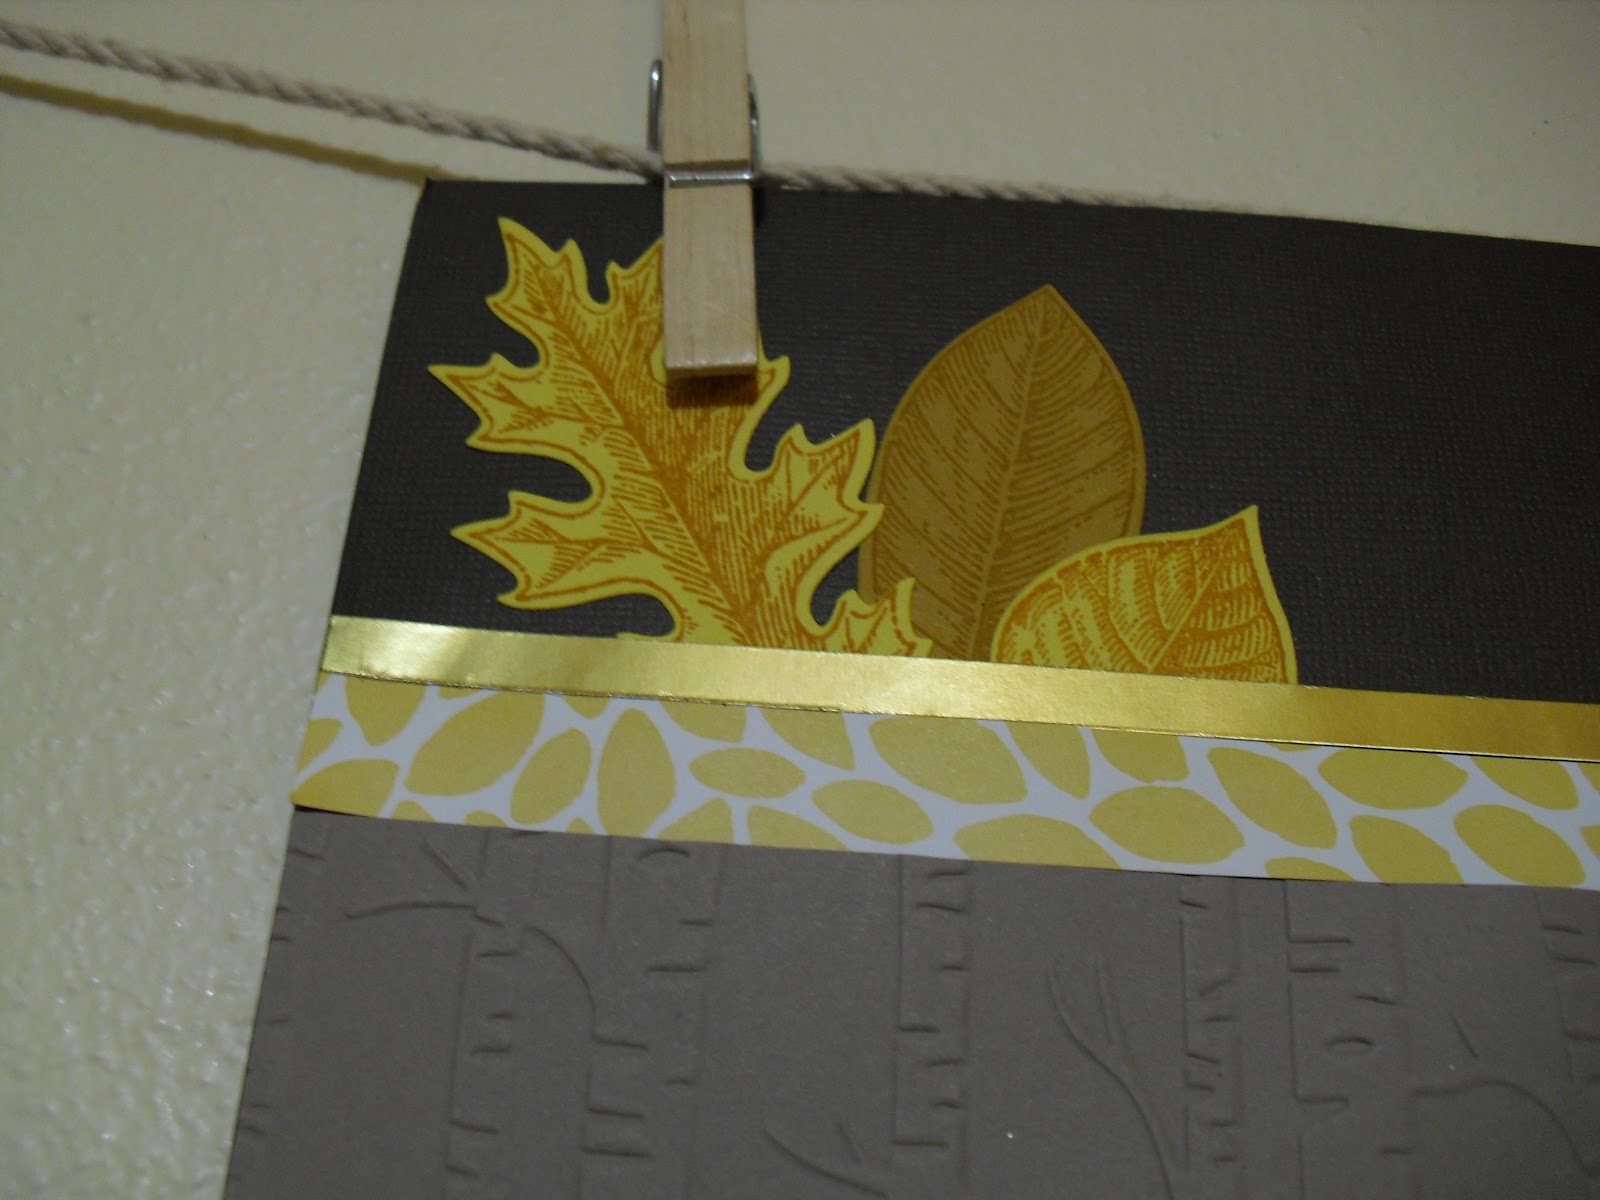
   Don't you like to find new ways to use old stamp sets?  When I was thinking about stamp sets to use for my fall card buffet class, I remembered the stamp set that went along with the perpetual birthday calendar.  I had not used it once since I made the calendar. I made a quick an easy card with these few extras.

Into the Woods elements
Banner Punch
Seasonal Frame Thinlits

   I think I am going to feature this stamp set in my card buffets from now on.

Tuesday, September 29, 2015

Awesomely Artistic-Fall card buffet


     I decided this card would fit into any season, but since I wanted to make it fall was as good a season as any to feature it.  This was one of my favorite swaps from convention.  The only parts of the card that are not one of the stamps in the stamp set is the word hello from the Endless Birthday stamp set and the thin Delightful Dijon strip from the Butterfly Basics stamp set.  The card was a big hit at my card buffet.

Monday, September 28, 2015

Among the Branches-Fall card buffet


     After I made my October framed art, I tried to figure out a way to use the wonderful Spider Web doilies in a card.  Since I love simple this card worked for me. The other items on the card are....

Gorgeous Grunge- I can't believe I did not like this set when we received it as a free stamp set at convention several years ago.

Among the Branches- the spooky saying and the eyes are some of my favorites from this set.

Rhinestones colored black with a Sharpie marker make the finishing touch on the card.  Now, to make a bunch for the grandkids for Halloween.

Sunday, September 27, 2015

Happy Scenes-Fall card buffet


     I love this card that my friend Robin featured in her class called Everything Fall.  I really copied it just the way she had created it.  How can you make anything perfect better?  What do I love about this card?

1. The brick wall, love that embossing folder.

2. The pumpkin scene-could be a Halloween card, or a fall card just change up the sentiment.

3. The technique Robin used to get the sky and the grass separated so well.

      First she stamped the image 2 times onto post-it notes.
      Next on one she cut the ground and around the pumpkins.
      Finally she cut the sky and around the pumpkins.
      When stamping the ground she covered the sky and pumpkins and sponged a green color.  She reversed this to get the sky sponged. A great card for masking.

   It may look like a hard card to make but with the framelits and our new fine tipped glue pen it was quite easy.

Saturday, September 26, 2015

February Framed art


   February framed art posed the same problem that the January framed art posed.  Most of the items featured were retired.  So, I got my brain working and used the same format but different items.


1. Designer paper I used on this layout is called Timeless Elegance.

2. Groovy Love and Watercolor words were great stamp sets for this layout.

  It seems like each time I change up a layout I like it a little bit better than the original.  Now though I have 2 framed art for each month.  I bought another frame and have one located in our guest bedroom.


Friday, September 25, 2015

January Framed Art


   Last year when I started my framed art class this was our layout for January.  Well, this year when I went to create the page layout for this year's group nothing on this layout was current.  Bummer!!


     This was what I came up with for this year.  Can you find all the new items?

1. Flurry of Wishes stamp set and matching Snow Flurry punch

2. Iced Rhinestone and Winter Wonderland embellishments.

3. You've Got This stamp set from the new annual catalog.

   The main feature of the framed art is from a kit I had leftover from last year and never used.  It's never too late right!

Thursday, September 24, 2015

Into the Woods designer paper scrapbook layout


  I love everything about the Into the Woods designer paper.

1. The colors are some of my favorites, fall colors.

2. The images are cute and actually were hand painted by a Stampin'Up! employee.

3. They coordinate with the Into the Woods stamp set.

   I wanted to show case all the patterns in the DSP pack so I thought of making banners in each one of the 12 designs.  Then I decided to use the triple banner punch on the ends to make cutting the banner easy.  And finally when I looked at what was leftover from my punching I thought those pieces would look great attached to the end of each banner.
The nuts for you stamp seemed to be an appropriate saying for this layout.

I added an acorn along the top as an accent piece.


   The Acorn Builder punch, and the Acorny Thank You stamp set made perfect accent pieces to finalize this layout. I hope I get some really good pictures from a camping trip my husband and I are taking next week.  They will look great on this layout.
    

Wednesday, September 23, 2015

Woodland Embossing Folder Scrapbook page


     When I saw this layout on Rachel Tessman's blog I knew that I had to use it for my September layout.  One of the outstanding features of this layout is the use of the Woodlands Textured embossing folder.

Once the image was embossed, an ink pad was gently dragged over the embossed image.


The loops of gold cording and the Into the Woods elements add some great finishing touches.

The Vintage leaves and matching Leaflet framelits make great corner accents.


Thanks Rachel for such a great layout idea.


Saturday, September 19, 2015

Serene Silouhettes for Knollwood


     When I was getting ready to go to Knollwood last week, I remembered that Mary wanted harder cards to make.  I thought maybe I would try having the ladies do more stamping than I usually do.  So this is the card I used as my sample.  I knew some things needed to be changed.

1. The ladies would not want a ribbon or bow on the card since that would cost more money to mail.

2. They like to make birthday cards and I could not find a saying that fit into the oval punch featured here. 

3.They would have a hard time sponging around the edges of the punched shape.

So here is how I changed the card....


They loved  the card and were so impressed with the result of inking the stamp once and stamping with it 3 times.  Mary said it was fun but still not what she considered a harder card.

Friday, September 18, 2015

To You and Yours Shaker card kit

This card has three colors of sequins to shake.


   Do you love to get or make a shaker card?  I think they are great fun.  The kit called To You and Yours shaker card kit is one featured in the new Holiday Catalog.  I made 3 of the cards up to have on display at my Open House last weekend.  Here's is what I like about this kit.

1. It comes with easy to follow directions.

2. The 3 designs are cute and easy to make.

3. All the items needed to make the kit come with the kit.

4. There is a stamp set that coordintates with the kit that steps the kit up even more.
There are silver stars that shake in this card.

This card has white beads that shake.

You see from my samples that I used some of the leftover negative word areas to decorate my envelopes. There are enough materials for me to make 5 more of each one of these designs.  I loved how easy it was to make these impressive fun cards.


Thursday, September 17, 2015

Among the Branches-Mary's card


    Mary came to my Holiday Open House, her first adventure into Stampin with Sushi.  She really like the card I offered using the stamp set Among the Branches, but wanted to change it to a card she could use at a friend's wedding.  Can you see the changes we made?

 
1. We changed the saying from the one included in the Among the Branches stamp set, to the word love from the set called Watercolor words.
 
2. Instead of just using the saying we backed it with a Tangelo Twist scalloped circle.
 
So anytime you want to change a basic card you can think about what Mary did.  Change the words, change the background, change the colors.  Once you do that the card will not even resemble the original design.


Wednesday, September 16, 2015

Happy Haunting Match book treat holder


    I love the Halloween paper that is in the Holiday Catalog.  The designs are so cute, like these adorable ghosts.  The great thing about the designer paper is one side is not so obviously Halloween designs so the paper can be used after Halloween is over.  Do you wonder where I get my ideas for some of my projects?  This time the answer is not Pinterest, but the actual catalog.  The projects featured on the pages are there for just that reason, for us to copy and use them.
So if you look on page 46 of the catalog you will see this cute little treat holder.  All I had to do was figure out measurements.

Cut a piece of designer paper at 2 by 8 inches

Score the paper at 1/2 inch, 4 inches, and 4 1/2 inches.

Stamp one of the images from the stamp set called Sweet Hauntings and you are set to go.
It's that easy!

Monday, September 14, 2015

Happy Scenes stamp set and Hearth and Home framelit


     Isn't this a cute tag for a package?  It was one of the projects people made at my Holiday Open House.  Looks hard maybe, but it was really quite easy.

1. Use the window framelit to cut out a Marina Mist and Early Espresso window frame.

2. Cut the Marina Mist frame on the inner most lines.

3. Stamp the tree image on Water color paper using Garden Green ink.

4. Color in the ground with an aqua painter and the Marina Mist ink.

5. Glue the layers together using the new Fine tip glue pin on the tiny areas.

   I think it will be great fun to create similar projects using all the rest of the scenes that can be seen from the window.

Sunday, September 13, 2015

Delicate Ornament and Precision Base Plate

    
     Can you see the paper that was used to make this ornament?  It is the new Red Foil cardstock.  It is firm and shiny and perfect for cutting out the Delicate Ornament Thinlit die.  You might wonder how hard it could be to get all those little pieces cut out of the thinlit.  The new Precision base plate made it so easy.  Here is a video that helps you know how to use the plate.  This was featured at my Holiday Open House and can be used as a tag or an ornament for your tree.

Saturday, September 12, 2015

Thankful Forest Friends

    Wouldn't you like to receive this cute little note card as a thank you note?  It features a couple of favorites. 

1. Into the Woods designer paper.  The design was hand painted before it became paper.

2. The stamp set Thankful Forest Friends has some cute forest animals and great sayings.  In this case I used a marker to highlight the saying.

3. Wooden In the Woods elements.  There are 3 the acorn, a leaf and a banner.  They make perfect accent pieces for a card.

   Finally, I made a matching envelope using the 2014-2016 designer paper stack and the envelope maker.  Another cute make n take featured at my open house.  And you may wonder where I got the idea for this cute card.  Straight from the new Holiday Catalog.  Our catalogs are a store house of ideas that are meant to be copied.

Friday, September 11, 2015

Woodland Textured embossing Folder


    Fall is my favorite season and one of the things I love about fall is the colors of the leaves.  This card reminds me of what I love about fall.  It is one of the cards featured in my Holiday Catalog Open House. Here are the new items....

1. Woodland textured embossing folder.  It is a 6 inch square and will fit any direction on your big shot.

2. Among the Branches stamp set.  The leaves and the saying are from the set which also features Christmas and Halloween items.

  I am excited to show off the new items from our Holiday catalog today and tomorrow 12-3.  It's not too late to decide to come.


Wednesday, September 9, 2015

Oh What Fun Tag kit

An overview of the tag designs
A gold foil doily and silver snow flake made these tags stand out.
     How would you like to get your Christmas Present Tags ready way ahead of time?  This kit called Oh What Fun and the coordination stamp set with the same name accomplished that for me and was really fun to make.  There are 10 designs with 3 tags for each design.  I followed the directions that came with the kit and found them easy.  Sometimes I just want to create something without having to think too much.  This was just what I needed.  
The same three colors were used on all the tags.  Mint Macaron, Garden Green, and Real Red.
A couple of the tags had jingle bells.

The golden snowflake and tie made these cards perfect.

I feel great about having 30 gift tags ready to go.  Now, I will just have to remember where I have put them in 3 months time!


Tuesday, September 8, 2015

Tin of Cards Kit


    Have you ever wished you had a bunch of cards ready to go so when an occasion came up you could grab a card and mail it?  Well, the kit called Tin of Cards will help with that problem.  And best yet it has a cute tin that will hold all the finished cards with room for more.
There are 4 sayings to put on each design.
The stamp set that coordinates with the tin can be used over and over.
There were even some leftover supplies to create new and different cards.

There are 4 cards for each design.

What  do you think of this kit?  It can be found in the new catalog and I will have the cards on display at my Holiday Catalog Open House the 11th and 12th of September.


Monday, September 7, 2015

Scrapbook Your Life- Bubbles layout


     When I was thinking about possible layouts for August, I considered that a lot of people might have vacations that were around water.  When I thought about water, I thought about bubbles and this is the layout I came up with.  The side borders were made this way.

1. I cut Whisper White paper into strips that would fit on the sides of the layout.

2. From one strip I punched out a variety of circles and used this as my stencil.

3. I then used 4 different colors of blue that went together and sponged  the circles in stencil to create a variety of dots.

  As extra accents I then punched out a variety of different sized circles. 

    We saw a lot of the ocean at my family reunion so I think those picture would look great on this layout.


Sunday, September 6, 2015

Scrapbook Your Life-Traveler stamp set


     Scrapbook Your life scrapbook class met in August and this was one of the layouts we made.  I knew that this time of year was a great time for traveling.  What I liked most about this layout was the images from the Traveler stamp set that set off the sides of the layout.


     These layouts will be a great place to put some of my pictures from the Davis Family Reunion held in Oregon.  What pictures would you put on this layout?


Friday, September 4, 2015

Serene Silhouettes-Ink Once Stamp Three Times


     Does this card have a format that seems familiar to you?  This is a swap I got from my friend Cheryl.  She and I have a similar style in stamping, simple and appealing.  Notice the background she used on the card.  Looks like 3 colors but it is the same color stamped 3 times but inked once like this other swap I posted last week.

Thursday, September 3, 2015

Awesomely Artistic and Butterfly Basics-Have a Great Day cards

Linda's card Butterfly Basics
My card Awesomely Artistic


    Last week, my friend Linda and I got together to make some gift card sized cards to hand out to people we meet everyday.  One point of handing out the cards was to let people know we were thinking about them and wanted them to have a great day, and the other point was to give people a hand made card, which happened to have our business card inside.  I used the stamp set Awesomely Artistic and Linda used the stamp set Butterfly Basics.  We tried to make similar cards to show how a design could be used with different stamp sets.  I have had a great time handy out some of my cards.  People seem surprised and happy to receive them.

Awesomely Artistic
 

Butterfly Basics


Awesomely Artistic
 
 
Butterfly Basics


Awesomely Artistic

Butterfly Basics


We wanted to make sure that we used all the components of the stamp set.  Once I got started I had a great time stamping and think the end results turned out pretty good.  I hope everyone that receives a card will have as much fun receiving it as I did making it.


Wednesday, September 2, 2015

December Framed Art


    So when it came to making the framed art for December I had the same problem as I did for October.  All the parts from last year's frame were retired items.  I decided to keep some of the parts that I liked for this year's frame.


   Can you see what I kept the same?  I used some retired Coredination paper for the Early Espresso background, and liked the look of the swirl from the stamp set Everything Eleanor but changed up lots of other components.

I used the filigree ornaments from the new Holiday Catalog called Delicate Ornament Thinlits.  These were so easy to cut out using the new Precision Base Plate. Since the ornaments were so big and so striking when I backed them with white cardstock, I decided this frame did not need much else.  I wanted the ornaments to be the part of the frame that you would notice.

I wonder how many more months this year will need a redo.