Tuesday, June 8, 2021

Cut it out Tuesday-Standing Pop-Up card

This week's card is called Standing Pop-Up card. I got my inspiration from 2 sources.  The first was my sister Barb who showed me her sample and how cool it was the way the card popped up.  She then told me where she learned how to make the card from a video from Vy Tran. Vy's videos are well done and easy to follow. Check them out.


This is how the card would come out of your envelope.


 When you press down on each side of the fold on top, the inside pops up to show a great surprise.
Looks hard, but quite easy.

Here's what you need to have ready for putting your card together.

1. Card base cut 4.25 x 11 out of heavy white card stock.
2. Score this piece at .5, 2.75, 3.25,5.5,7.75,8.25, 10.5.
3. Cut one piece of window sheet, or card stock at 3.5 x 5.5.
4. Cut designer paper at 2 x 4 ( 4 pieces)
5. Focal point and accessories
6. Saying
7. Paper Cutter for the very beginning

Product List
Pansy Dies
[155680]
$32.00

Does this make you want to figure out how to put this card together?  Well, come back on Friday at 10:30 for my Facebook Live and either watch or put your card together with me.

I will be taking the day off tomorrow to spend some time with family.  So, come back on Thursday to see how I step up the Monday card using this week's template.

Till Then
Happy Stampin
Sushi

Monday, June 7, 2021

Make it Simple Monday-using Pansy Petal Suite and a template


A new week and a new template.  A simple card is a great way to start off the week.


The great thing about a template is that is can start your creative juices flowing.  Today's template made me think of 9 shapes organized in rows. 


The next thing I thought of was what to put in place of the shapes and I decided designer paper would be a great thing to put into 9 shapes.  It would be a great way to show off the Pansy Petal designer paper, many designs at once.

Finally, I decided I wanted my shapes to be squares so I could put the saying at the bottom.  I also wanted to place one of the cut out pansies in the center.  That is how my mind worked with this week's template.


Product List
Pansy Dies
[155680]
$32.00

Friday, June 4, 2021

Put it together Friday-Opposte card


Check out what the Opposite card looks like when you put it together.


Here I used some retired Christmas paper and attached opposite colors.  I placed a saying in the center to set the entire card off.


 For this sample I switched the designer papers and came up with the great contrasting look. I placed half of a vellum doily under one half of the center, and placed a small pansy in the middle of the squares.


This was a fun easy to put together card.  I plan on making several and trying a few different ways to put the pieces together.

Is supposed to be a very hot weekend here in Illinois.  Stay cool, find some time for stamping and being around those you care about.

Till Monday,
Hsppy Stamping,
Sushi

Thursday, June 3, 2021

Step it up Thursday in a patriotic way and with the Pansy Patch paper

Step it Up day is a fun day for me.  First off is the template for the week.


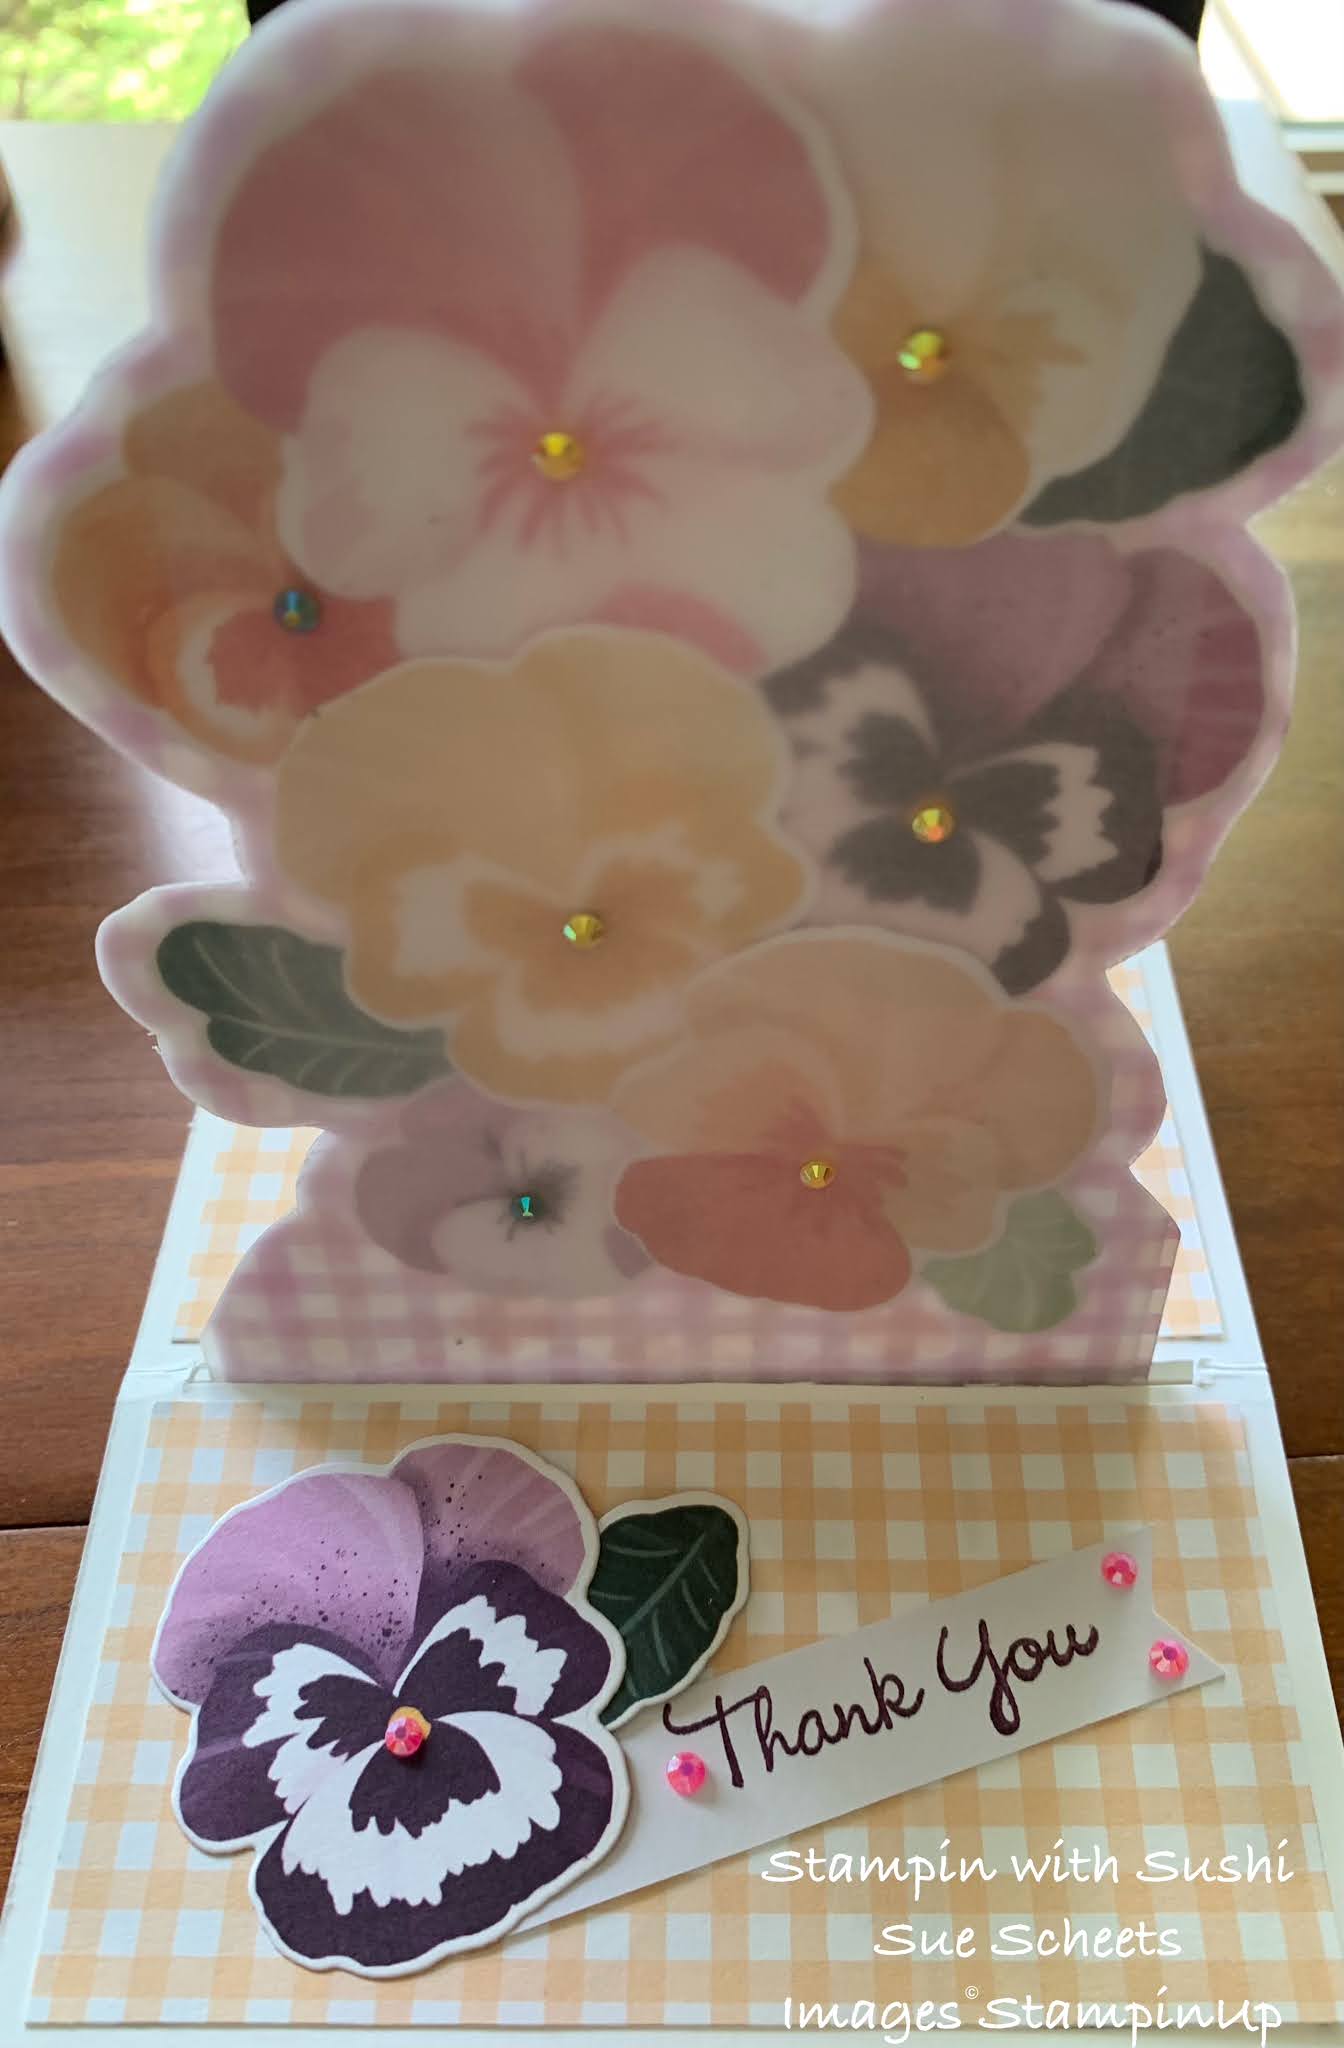
Next is the simple card I made using the Pansy Petal suite.


I stepped up the first card, by...,.

1. Creating a background for my designer paper strips.
2. Creating a background for my horisontal strip.
3. Popping up the Happy Birthday with dimensionals..
4. Adding a small pansy cut from the designer paper.

r
And here's how I stepped up the card once again.

1. I added an embossed layer of card stock on top of the card base.
2. I layered a second color card stock behind the designer paper strips.
3. I added an additional layer behind the horizontal strip.
4. I added a second pansy as an accent.

Which of the above 3 cards is your favorite?

Here is how I stepped up my patriotic cards.


1. I added a Paper Pumpkin Batter Up card as the base.
2. I changed the colors of the strips, one is the envelope flap from the Batter Up kit.
3. I placed the thanks on one of the vertical strips.
4. I wove the horizontal strip through the other strips and added some stars to the strip.


Finally, 
1. I cut apart the paper pumpkin card and mounted the front on some Night of Navy card stock.  
2. I also backed the 3 strips on the same card stock.
3. Lastly I added my saying to the horizontal strip.


I loved this template.


Tomorrow, I will put together the card of the week, the Opposite card.  Come watch on the Facebook Live at 10:30 or at the Zoom meeting at 6:30.

Till then,
Happy Stamping,
Sushi

Wednesday, June 2, 2021

What is it Wednesday-Pansy Petal Suite

Today I am sharing with you all the different parts of the Pansy Petal Suite.  There are .....

Pansy Patch stamp set of 23 photopolymer stamps for $25 

Pansy die set which includes 21 dies for $32

or the bundle for $51.25

Pansy Petals designer series papers and 

Bunblebee trinkets.

In the video below I showed how to use the stamps and the dies.  These are the cards I ended up making after the video was over.  Notice the photo of an actual pansy that I used as a guide to choose the colors for making these cards.


 This card used the layering stamps to make both the pansies. I think I got a pretty good match with the photo and the stamped image.  What do you think?


This card used the dies to make all the parts of the pansy and the bud.  They go together easily.
Another good match.


Product List
Pansy Dies
[155680]
$32.00

Tomorrow, I will be stepping up the cards I made on Monday.  I will be posting my information about the June online class.  If you are not on my email list let me know and I will add you to the list to receive information from me.

Till then,
Happy Stamping,
Sushi

Tuesday, June 1, 2021

Cut it out Tuesday-Opposite card

Today is cut it out Tuesday.  This week I am calling the card the Opposite card and here are the cutting instructions.

1. Base card 5.5 x 8.5
2. 2 contrasting colors of card stock, or designer paper cut 2 1/8 x 5.5
3. Using the same or similar designer paper or card stock cut 2 1 inch squares of each color.
4. Cut one of each of the squares on the diagonal to make 2 pieces of each color.
4. Find a saying and embelishements.


 This is one of the cards I chose to make as an Opposite card.  On Friday at 10:30 I will put together the parts I showed in this morning's video, and at 6:30 I will be putting together a black and white card.


Tomorrow, I will show you all the pieces of the Pansy Patch stamps and dies and how they go together as well as the cards that are going to be a part of my June online class.

Till then,
Happy Stamping,
Sushi