Friday, March 30, 2018

Painted with Love-Scrapbook Week

  What pictures would you put on these pages?  On of the scrapbookers put pictures of her daughter getting her permit to drive.  Her shirt was pink and looked great on these pages.  Here is what I used to make this layout.

1. Painted with Love Gold Vinyl stickers

2. Painted with Love specialty designer series paper

3. Powder Pink, Sweet Sugarplum, card stock

4. Lots to Love Box Framelit dies

5. Gold Foil card stock

  Has this week inspired you to make some scrapbook pages, and made you realize how easy it might to create them.  Next week I will feature the in-colors that will be retiring at the end of May.  I wonder what our new in-colors will look like. Product List

Thursday, March 29, 2018

Happy Birthday-Scrapbook Week

  Do you recognize these designer papers?  They are called Picture Perfect 6 by 6 designer series paper.  One side is a picture of a party element and the other side is a design in the same colors. Fun to flip then over like I did.


A favorite thinlit to use on anything related to a birthday is this one.  It is called the Happy Birthday thinlit.  I can be hard to lay down on paper with getting glue everywhere until you back it with a piece of adhesive sheet.  

Tomorrow I will share with you a layout I made in February for Valentine's Day, Anniversary, Birthday, or any special event for someone you love. Product List

Wednesday, March 28, 2018

Black and White and Red all Over-Scrapbook Week

This was a lot of fun to create.  There are a couple of items I used on this page that are retired.  Can you guess what?  The punches.  I love punches and have a hard time putting them in my retired item garage sale.  The corners were punched with a retired corner punch.  It had 3 different ways to punch a corner.  Since we have nothing else quite like that I decided to keep the punch until we do.

However if you guessed the the long punched border was done with a retired punch you would be wrong.  This punch is in the current annual catalog and it called the Decorative Ribbon Border. Can you see this layout done in the school colors of kids you know?

Tomorrow, will be a birthday layout using some of the great paper found in the Occasions catalog.  Check it out. Product List

Tuesday, March 27, 2018

Febuary Paper Pumpkin Kit-Scrapbook Week

   I have a favorite blog I go to to start my ideas for using Paper Pumpkin in my layouts.  Rachel Tessman is so creative.  Here is her take on a layout for this kit. You can see her inspiration in my layout.

  One of my biggest challenges is to make sure the I put the pictures on my layouts.  I have a great time designing my layouts, but never seem to find the time to actually put pictures on them.  

  So, I have until the end of April to make sure that this layout has some pictures on it.  

Tomorrow I will be sharing a layout that is all black, white, and red.  One of the ladies who scraps with me asked for a layout with her daughter's school colors. This layout could easily be changed up for any school colors. Check it out and see what you think.

Monday, March 26, 2018

It's All About the Green-Scrapbook Week


Welcome to Scrapbook Week!  I have a class once a month where the scrappers that come make 2 two-page spreads.  If they bring the pages back the next month with pictures then I have a surprise for them.  Often it is some designer paper that says scrapbook page to me.

This month I featured a layout that could be used for St. Patrick's Day if you are a fan. I knew I wanted to feature green in some way and thought that black would work well with the green.

Can you guess what I used for my greens?  I went through every pack of designer paper I had a chose all the green papers.  This was really fun to create.  Can't wait to see what the pages look like with pictures.


Come back tomorrow to see how I used the February Paper Pumpkin kit to make a scrapbook layout.

Friday, March 23, 2018

Sushi's Snippets Paper Piecing Tool

Amazing You stamp set-Sale a Bration

 This looks like it would take quite a while to make but really is quite simple.

1. Stamp the flower image on a Whisper White card base just around the edges.

2. Stamp let's celebrate and a blue lower in Night of Navy ink on the top layer of the card.

3. Color the flower using the Night of Navy Stampin Blends.

4. Wrap some Daffodil Delight ribbon around the top layer.

5. Attach all the layers together and you have a great looking card.

I hope you have had as much fun looking at all my samples from the Sale a Bration catalog as I have had making the samples.

We are at the last couple of weeks of Sale a Bration.  So, if you find yourself really wanting some of the items you have seen, then you can check them out on my website, click the link on the top of the page, or click on the items you would like at the end of each post.  

$50=one Sale a Bration item of your choice.

Come back next week for Scrapbook Layout week.  I will be sharing the layouts that I create for my Scrapbook Your Life class that meets once a month.

Product List

Thursday, March 22, 2018

Amazing You stamp set-Sale a Bration

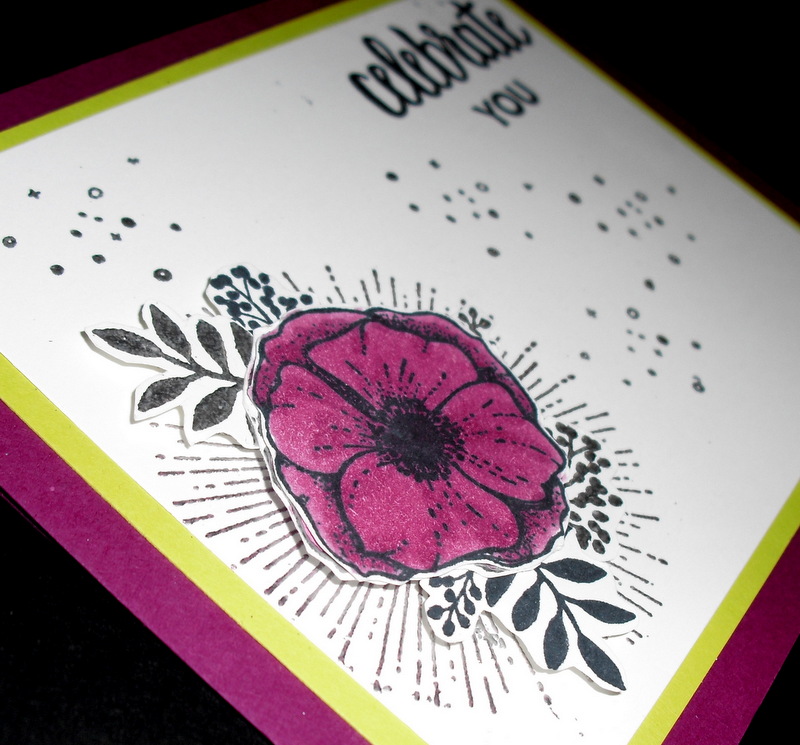
I started out with this card and decided what would be the same on any more cards I made.

1. A saying would be on the card.

2. The center would look the same with the flower, and a silver foil scalloped circle backing.

3. There would be a strip of embossed flowers across the backing using the Petal Pair Textured Impressions embossing folder.


I turned the embossed piece of paper over so the back showed instead of the front.


Here is what I changed on this card.

1. I changed the color from Pool Party to Daffodil Delight.

2. I changed it from being in portrait position to landscape position.

3. I used one word instead of 3.

4. I used the front side of the embossing folder instead of the back.

Can you see how you could make even more changes on this basic card design?  Try this on your own and see what you can do.

Tomorrow, I will share another simple way to make a great looking card.


Product List

Wednesday, March 21, 2018

Brusho as a palette

Amazing You stamp set-Sale a bration

I love to add embossing to my cards. I think it adds a WOW factor. Here's my step by step on how I made this card. 

1.The stamp set that looks like the rays of the sun, one set of leaves, the Celebrate you, and the dots are all embossed in silver.

2. The flower and one set of leaves (part of the flower stamp) are stamped in black memento ink.

3. The leaves are cut off from the flower and attached with dimensionals to give the flower some layers.


4. The color is added with the Rich Razzleberry Stampin Blends.

The final product makes me feel like I just produced a WOW card.

Tomorrow I will show you  how to take one layout and make several more just like with some simple changes.

Product List

Tuesday, March 20, 2018

Amazing You and Celebrate You-Sale a Bration

 Have you ever started your day thinking it was Monday and realized Monday was already over?  That was me today.  So this card is the one I was going to post yesterday.  I like to start off the week with a simple card.  This uses items from the Amazing You stamp set and the Celebrate You thinlits.  These are my last Sale a Bration cards to share.

How did I get the Berry Blast color around the words.  You may already know this simple trick but in case you don't.

1. First, punch out your words.

2. Next punch out the color.

3. Cut the color in half and glue it on each side of the word and now you have an accent for your page.


The border is punched using our Decorative Ribbon border punch.


Today's card features the emboss resist technique.  

1. First I stamped the flower image using Versa mark.

2. Next I embossed the image using white embossing powder.

3. Finally, I brayed over the card front using Island Indigo ink.  When I finished brayering, I wiped the flowers with a tissue to take some of the extra ink off.


The final touch was the word Celebrate which is one of the thinlits.  This set of thinlits is free with a $100 order.  If you cannot place that $100 order this month, then wait till June because these thinlits will be in our new annual catalog that will come out in June.  Yeah!!!

Tomorrow I will feature a WOW card I made with these two sets.   Product List

Friday, March 16, 2018

Sweet soiree Memories and More cards-Sale a Bration

Isn't this a great colorful collection of cards!  They would look great on scrapbook pages, but also as a part of simple to make cards.  


I chose one of the 52, 3 by 4 cards, added a saying and backed it with black card stock.  Then I cut one of the 20, 4 by 6 cards so that it could be used as back ground on a white card base. It maybe took me more time to figure out what I wanted to use as a saying than it did to make the card.


I chose two cards one small and one large cut to size and just added a saying.


This time I chose two of the small cards, and cut another big card to size. I thought this saying fit perfectly in the white space.


Two cards a saying and some ribbon and another card is finished.


2 small cards, one larger card cut to size with some added ribbon and a saying.  

I have 60 more cards left to either scrapbook or make more cards.  And this set of cards was free to me with a $50 purchase.  What a deal.

I have had a blast these past two weeks making cards using almost all the sale a bration items.  Next week I will feature the other two items I have in my possession.  I will be featuring one a day.  Don't forget to leave a comment so I can send a card on to you. Product List

Thursday, March 15, 2018

What's in My Tool box, Dimensionals

Happy Wishes-Sale a Bration

  Does this look difficult to put together?  Well, it is very simple.  The Happy is one of the sale a bration stamp sets.  I just colored in the flowers at the bottom of the word to match the designer paper in the background.  I love the script of the word happy.  There is such variety of extra word to add to the word happy included in the set.


Here are a couple more sayings you can add to the word happy.  I used the rock and roll method to get the Melon Mambo ink on the top of the stamp.  


Yes, there is another stamp like happy and this is the word best.  You are probably thinking this is quite the deal.  So this year in the Sale a Bration catalog they have included a couple items that you can earn with $100 in sales and this set is one of them.  Do you see the embossing folder called Petal Pair in the background.  I love the extra texture it gives to the background of this card.


Additional scripted word to add to the word best.  I added a silver doily and the butterfly embossing folder to this card.


And then there is Best Wishes.  I did not even feature all the sayings that are a part of this set.  For this card I added some vellum on top of a piece of the Petal Passion designer paper, and the branch from the Petals and More thinlit dies.  


Are you ready for another set of cards from the Sale a Bration catalog.  Tomorrow I will feature cards made from the Sweet Soiree Memories and More card pack.  This card pack is great because not only can it be used in scrapbooking, but it can also be used in making very simple cards.


Product List