Today I will be using on each card sample
Inside the Lines designer paper
Dragonfly Dreams bundle
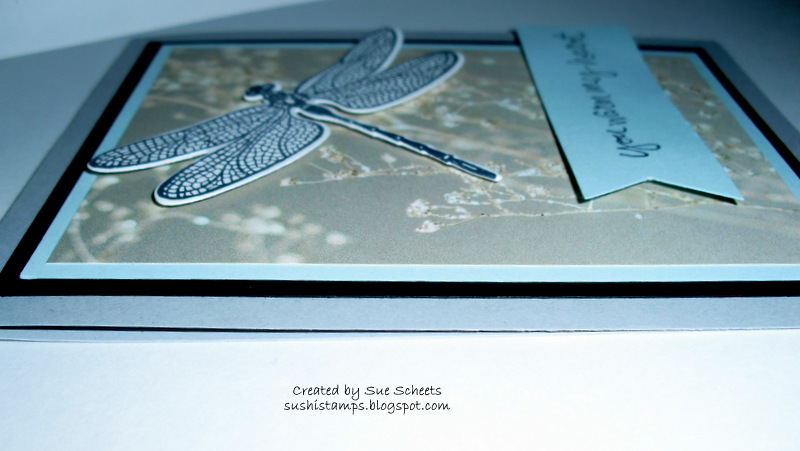
This first card also uses
Tags and Labels framelits
The saying from the stamp set called Bunch of Blossoms
Even though this designer paper can be colored in, it also looks great uncolored as the background for a bold thinlit, like the dragonfly.
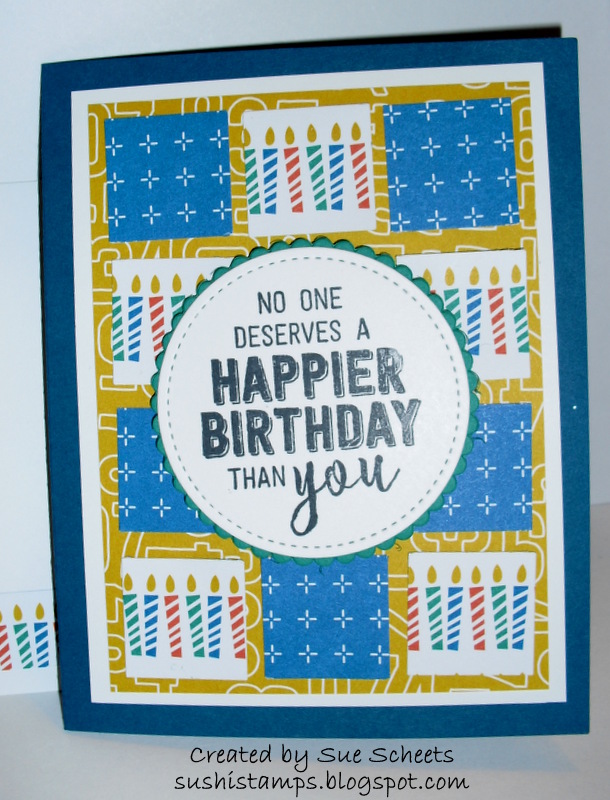
For this card I added
Stitched Shapes framelits
Layered Circles framelits
The saying is from the Dragonfly Dreams stamp set.
I love how the stitched shapes framelits and the layered circles framelits work so well together.
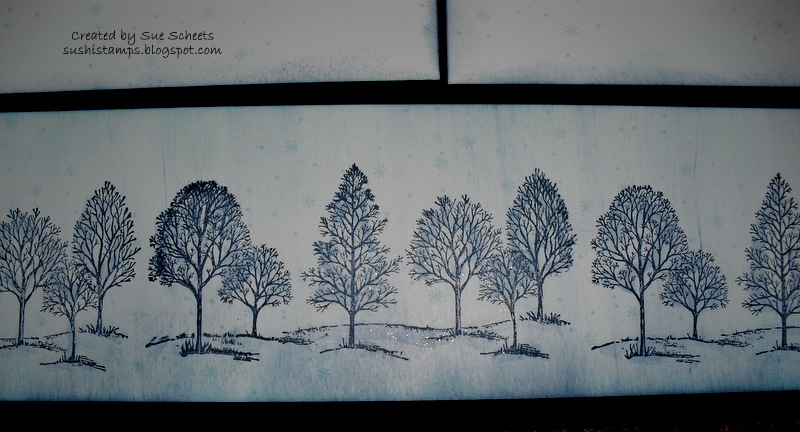
For this card I added
New watercolor pencils from the Occasions catalog
Aqua Painter
Vellum
Black embossing powder
Saying from Watercolor Words
For the final card I colored in parts of the designer paper using our new colored pencils. You do not have to color a solid image when you use them. Just color and then use an Aqua Painter to blend the coloring marks.
After I finished my coloring I cut the paper into thirds and attached it to the card base.
Since my dragonfly was so big and bold, I needed a simple bold saying to complete the card. Watercolor Words fit the bill.
Don't forget you too can have this great designer paper by spending $50 on any items you wish. Then the designer paper is yours for free. Can't make it to one of my classes. Feel free to order online any time. Just go to www.sushi.stampinup.net to my website. There is a direct link to my store at the top of this page.
Come back tomorrow to see anothe Fab Friday card.


