Friday, July 31, 2015

Sympathy Card Buffet- Serene Silhouettes


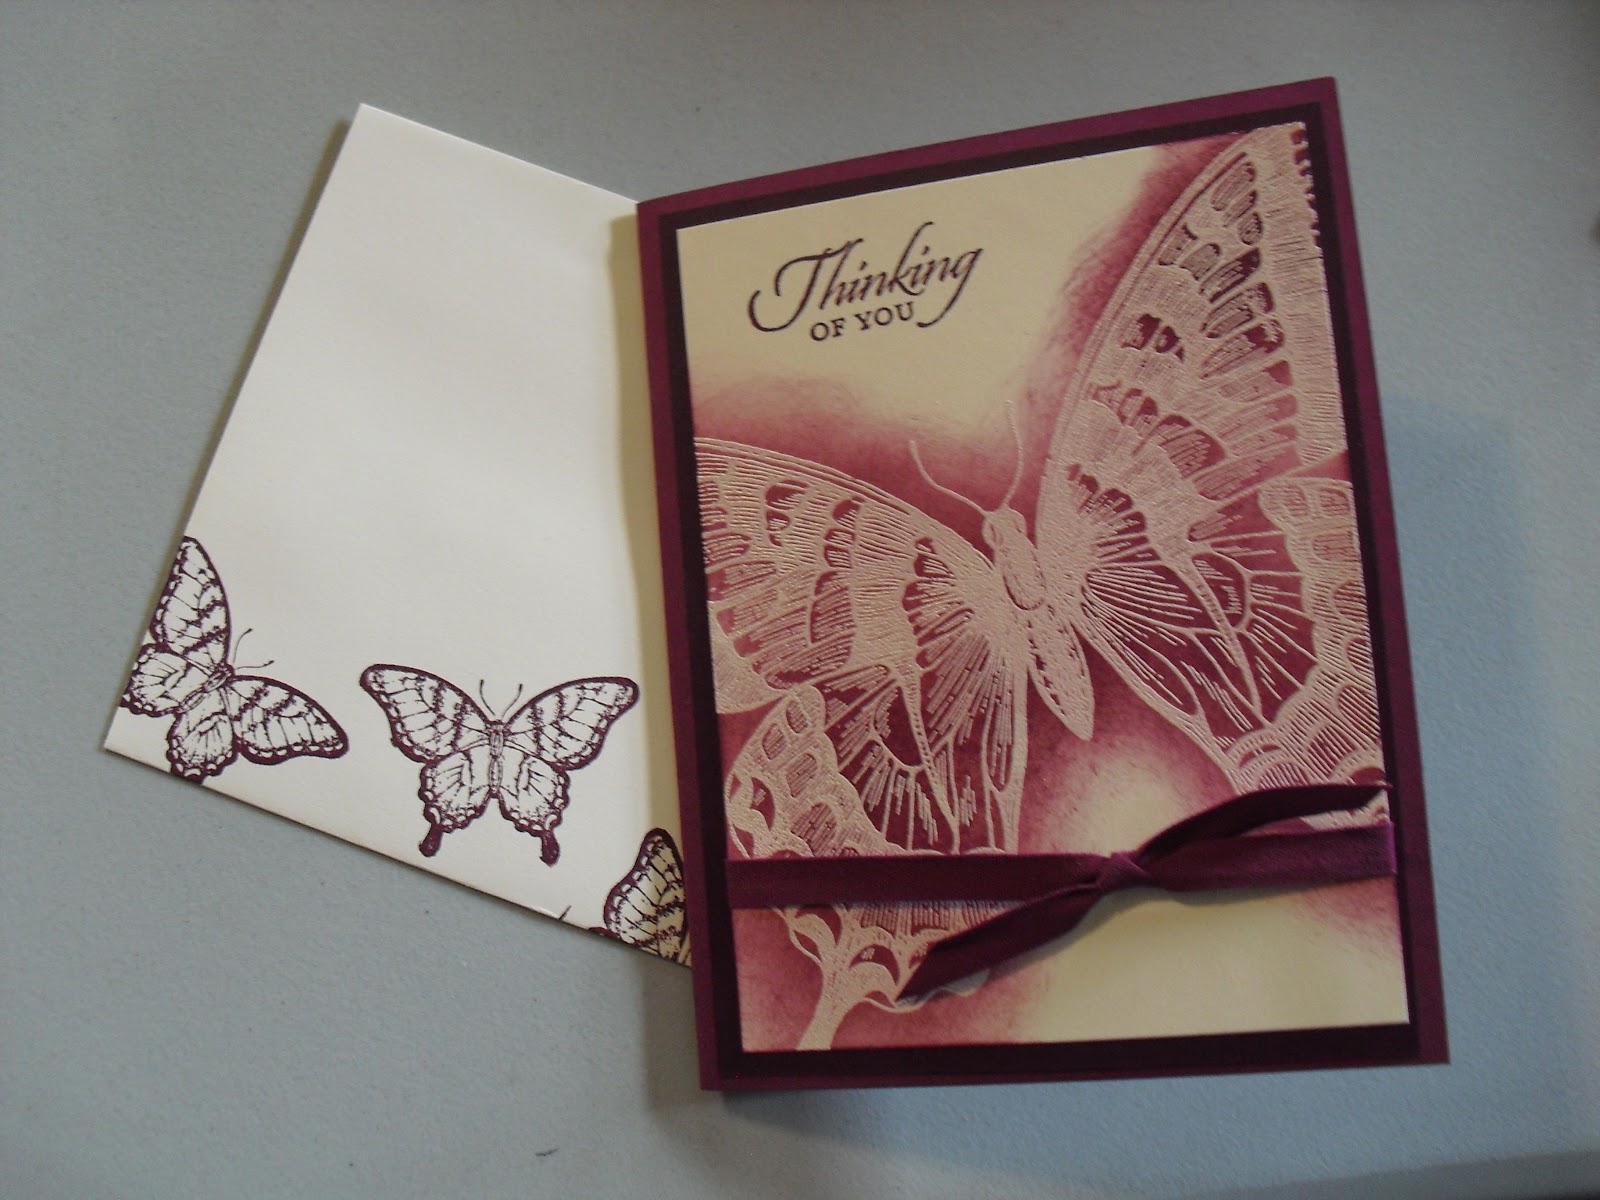
     Don't you just love the background in this card?  I got the idea from Mary Brown and thought it worked out well.

1. Take a stamp block and ink the entire block with the lightest color of marker.

2. Take the next lightest color and ink up 2/3 of the block with that color.

3. Take the darkest color and ink up 1/3 of the block with that color.

4. Lightly spritz the block with water and stamp onto your cardstock.  Whisper White will work just fine.

  Thanks Mary for such a simple yet great card idea.
    

Thursday, July 30, 2015

Symapthy Card Buffet-Butterfly Thinlits


     Sometimes I like to make a card with just one main color.  This time I chose Smoky Slate.  You might wonder how I got the fancy look at the bottom of the card.

1. Choose the Lots of Label thinlit that fits the bottom of the cardstock.  Keep the majority of the card on top of the framelit.  Place the bottom of the card under the framelit so the cutting edge lines up with the bottom of the card stock.  The framelit will only cut the bottom edge.

2. To keep the butterfly in the cut out space just re-glue the butterfly back onto the card once all the little pieces are gone.

3.  Use the ferns from the stamp set Awesomely Artistic as the background of the saying making sure to stamp them off before applying the image to the card stock piece.

   Enjoy making this card in your favorite color combination.

Wednesday, July 29, 2015

Sympathy Card Buffet-Bohemian


   These bright colors make me think of Western designs.  I found this card on Julie Davison's blog and loved it.  This was one of the cards my stampers at the library and the senior center made this month.   I can think of several people I would send this card to, how about you?

Tuesday, July 28, 2015

The missing card has returned-Work of Art


   I am home after a wonderful convention where I learned a lot, connected with old friends, and came home inspired to try new things.

    This is the card that I lost on my roommates computer.  I love several things about it.

1. Work of Art stamp makes wonderful backgrounds to stamp on top of.

2. The swirls from the stamp set Flowering Flourishes are a perfect stamp to place on top of the background.

3. The color combination of purples and greens is one of my favorites.

  What parts of Work of Art would you use as a background and what colors would you choose?

Monday, July 27, 2015

Sympathy Buffet-English Garden DSP


   Do you love using Designer Paper as much as I do? 

1. DSP makes a great background

2. You can make a great card by combining several DSP's that coordinate together.

3. DSP makes great 3-D items like bags, and boxes.

   This card was very easy to make DSP on the top and the bottom.  Coordinating ribbon with one of the colors helped cover the place where the two papers connected.  I was not sure what color to use for the cardstock for the accent piece until I looked at the color combinations for English Garden dsp.  Not Quite Navy was one of the colors mentioned and looks great as a backing for my saying.

   Have some fun using the designer papers that are in the new catalog.

Sunday, July 26, 2015

Sympathy Buffet-Swallowtail


   Does this look like a difficult card to make?  Well, it is not at all. 

1. First of all ink the Swallowtail stamp with versa mark ink.  I do with the grooved part up.

2. Next, emboss with white embossing powder.

3. Finally, with a sponge or dauber, rub Rich Razzleberry ink over the embossed image to pop out the flowered image.

    Doesn't that sound easy?  What colors would you use on your butterfly if you made this card?

      This card was inspired by a card created by Heather Van Looy.  Thanks Heather for such a great card idea.

Saturday, July 25, 2015

Sympathy Buffet -Work of Art


  Here I am at convention trying to post my sympathy card made with the Work of Art stamp set and guess what happened?  The picture disappeared and I have no way to get it back.  I am using a friend's computer.  So, just try to imagine what a sympathy card made with Work of Art might look like and I will post it when I get back home.

Friday, July 24, 2015

Sympathy Buffet Lovely as a Tree


     The theme for this month's card buffet class was Sympathy cards.  I find it very sad that I seem to need more and more sympathy cards lately. A card created b y Lynn Weiss was my inspiration for this card.  What I loved about the card.....

1. The distinct lines that separated the sky and ground from the rest of the front.  It was made using post it notes as a mask.

2. I was able to use Lovely as a Tree for the card, an all time favorite stamp. The trees are stamped after the post it notes are removed.

3. The simplicity of the card. I find that more and more I am attracted to cards that are simple.


Thursday, July 23, 2015

Celebrate Your Life with Paper Pumpkin


     For my second layout, I searched on Pinterest for Paper pumpkin ideas and found a layout similar to this one. 

The page on the right is from the May 2015 kit.  I cut apart two of the cards in the kits to make the picture backgrounds. 

 I used some paper from the Cherry on Top paper pack for the backgrounds. 

The balloon on the left was from the kit and was used to trace around the rest of the balloons on the page.

The saying says Celebrate so this page could be used for any kind of a celebration not necessarily a birthday.

I like using parts of my Paper Pumpkin kits on scrapbook pages to help show the versatility of each kit.

What would you celebrate in pictures on this layout?

Wednesday, July 22, 2015

Scrapbook Your Life with Paper Pumpkin


    When designing the layouts for this month's scrapbook class I thought about using the pinwheels from June 2014 paper pumpkin.  Then I wondered what else to use that could give a 4th of July theme and I thought stars.  Checkout all the stars that Stampin'Up1 offers

Confetti Stars Border Punch
Medium Star
Itty Bitty Accent punches star ( in the middle of the cut out stars)

   I was pleased with the result and so were my scrapbookers.  Now, to figure out which pictures to put on this layout.

  I am off to Salt Lake city to attend out annual convention.  I will have a post here for each day I am gone.  But, look at my facebook page to see some Instagram photos of what is happening.


Sunday, July 19, 2015

Crystal Effects reinker technique part 3


   Have you ever found that a card full of mistakes can turn out to be a favorite?  That happened to me with this card.

First was the colors.  I chose Delightful Dijon and Island Indigo for the colors.  Do you see any blue on the card?  Did I use any green on the card?  No, but these reinkers blended and made a great looking green.

Second were the smudges.  When I put the card together the accent piece was not quite dry so I had green places all over the Vanilla cardstock.  I can usually problem solve cases like this I think because I have lots of cases like this.  So I took a clean sponge and dabbed it onnewto the wet ink and then sponged all over my smudges. 

Finally, I added the flowers and leaves to cover even more smudges and I love the result.  So lesson to be learned, don't throw away things you smudge because it can always be covered up in some way.

Saturday, July 18, 2015

Crystal Effects reinker part 2


    If you saw yesterday's post can you see what is the added ingredient to the Crystal Effects reinker technique?  For this card the I used lighter colors because I knew I wanted an image to show through the window sheet. 

First, I created the window sheet and let it dry.

Next, I stamped the image on a piece of Very Vanilla cardstock that was the same size as the window sheet.  I used the Memento black ink pad, my favorite black ink at the moment, to stamp the image.

Finally, when the window sheet was dry, I used glue dots to attach the two pieces together.

  I found when I smooshed the inks together that the result did not match any of our cardstock, so I found something that I thought looked good with it.  What do you think?  Come back tomorrow for some hints on what to do if you have smudges all over your card. 

Friday, July 17, 2015

Crystal Effects Reinker Technique


   Last night was the July meeting of Press Club and I wanted to find new techniques for using reinkers.  I thought it was a fun technique to use but....WEAR GLOVES as it is messy.

1. Take two same sized pieces of window sheet.  Set aside one of them.  Swirl Crystal Effects over one of the sheets staying away from the side edges.

2. Choose 2 or 3 reinkers.  I chose Rich Razzleberry and Island Indigo because I want my design to coordinate with the Bohemian designer paper.  Drop 4-5 drops of each color on the window sheet.  You can drop it on the Crystal Effects if you wish.

3. Lay the second window sheet on top of the first and press and smoosh the reinkers until the sheet is covered with color.

4. Pull the sheets apart and let dry.  This part may take a while since the crystal effects takes some time to dry.

5. I added some Dazzling Diamonds glitter to help absorb some of the moisture from the reinker.

   What do you think?  Come back tomorrow to see another sample with a little twist.

Thursday, July 16, 2015

3-D calendar convention swap


     I finally have all my swaps finished for convention next week.  This may be the first time I have been finished so early.  This is the front of the 3-D swap I made.  I had some calendars that I meant to use back in January and you know how that goes.  I used .......

New in-colors
Stamp set Flower Patch
Framelit called Flower Fair which cuts out all the part of the stamp set. YEAH
New metal rimmed pearls
Candy dots

    When you open up the calendar...

   You find more flowers on the inside that are attached using dimensionals and make a shelf that allows you to prop the calendar open.
   In case you are wondering the months January through June make a great place to take small notes.


Monday, July 13, 2015

Farmer's Market Framed Art


    Last year I held a framed art class where each month people made a framed art picture using our wonderful products.  I posted my pictures in my stamping room each month and they were noticed by ladies that had not been a part of last year's class.  So, I decided to hold another this year.  We started in June and are doing 2 months at a time.  No problems occurred until it came time to do the September class.  Here is what I found......

1. The designer paper was retired and I had not samples left.

2. The leaf die was retired and as I usually do, I sold mine at my annual garage sale.

3. The Skinny Mini alphabet  set suffered the same fate, no longer available.

   So, I used the same format and created a new layout that everyone loved.


   Which layout is your favorite, the first or the second?  I wonder what other months I will have to change up this year.


   The pcit

Sunday, July 12, 2015

Stamping with the Elderly and Gorgeous Grunge


   This month at Knollwood, I wanted to try and design a card that the ladies could stamp and not worry about making a perfect image.  I immediately thought of using Gorgeous Grunge since a little mistake would hardly be noticeable.  Everyone had a great time stamping the background except for Maxine.  I overheard her say, "Well, I don't know exactly what it is but it sure is ugly!"  I guess she doesn't like the collage effect.

Saturday, July 11, 2015

Stamping with the Elderly-Designer Paper Focus


     At the end of every stamping year I end up with leftover materials that have retired.  So, I try to use them when I go and stamp with my lady friends at the local Assisted Living facility.  This time I decided to use the leftover papers from the Moonlight designer paper stack.  I have already learned a few things I need to do before I meet with the ladies.

1. Prepunch any punched items because they have a hard time pressing the punch all the way.

2. Prestamp some of the smaller words because they tend to rock the stamp and get extra lines where they are not wanted.

3. Use designer paper whenever possible so they have some choices about which side of the paper to use. 

   I love using the paper stacks for these cards because all the designs coordinate and make it easy to use any side of the paper for the card.

   I've mentioned before a reason I love to go is it reminds me of stamping and card making with my mother who passed away two weeks before she turned 90.  It's just like being with mom again.


Friday, July 10, 2015

Scrapbook Your Life-Best Thoughts Hostess Set


     Can you see the trick I used for this layout?  I ran out of one color of paper for the background, so I used 3 different colors, overlapped and cut small pieces to blend everything together.  So, if you think you do not have enough of one color to create a layout for a class, then just think outside the box and make it work.  I picture using the pictures I took of the flowers in our yard this spring on this layout.

I used an aqua painter, and some ink from the lid of my ink pad to make the flower. 
    
I added several butterflies from the stamp set called Best Thoughts, a hostess set as accent pieces.

 
What pictures would you add to this layout?

Thursday, July 9, 2015

Scrapbook Your Life with Bohemian colors


     The colors in this DSP just attracted my eye as soon as I saw them.  So, I knew that I would like to create a scrapbook page using the designer paper as much as I could.  Do you wonder where the diagonal design came from? I cut them from one of the papers in the pack and glued them to the lighter pages.  Now, to figure out what in the world I want to use the pages for.  Any ideas?

Wednesday, July 8, 2015

Scrapbook Your Life-You make me Happy


    What makes you happy?  I have been thinking about that lately and wondered to myself what picture I would put on this layout.  The paper used was from the Sale a Bration catalog and was called Irresistibly Yours. I loved using it on cards and scrapbook pages.  I was thrilled when I saw the paper called Color Me Irresistible so that  I could continue to explore ways to get the white on white design to pop out.


Close-up of the sponging I did on the star and polka dot panel to make the white pop out.
More stars , a butterfly and the word happy,

What would make you happy enough to put pictures of it on this page?


Monday, July 6, 2015

Convention Swap-Marbled Leaves


    Each year at convention I like to make cards that I swap with demonstrators all over the country.  Rather than leave this task to the last minute like I usually do, I have been trying to make a few cards every week or so.  I make 20 of each design so that I do not get easily bored.

    I looked at a card I made at the last technique class and tried to see if I could make it any easier and turn it into a swap.  I decided to used the design of this card but instead of the floating re-inker technique, I used the marble technique.

1. Take an old stamp box and place 5-6 drops of one color of re-inker in the bottom of the box. Roll  5-6 marbles in the re-inker until they look coated with ink.

2. Put some removable adhesive on the lid of the box and attach your card stock to the lid.

3.  Tip the box upside down and roll the marbles all over the paper.  For additional colors you will need another box set up the same way as this one. Keep on rolling until you get the look that you want.

   Do you know why you need 3 boxes for 3 colors?  I do. I tried putting all the colors in one box and I guess you know what color ended up in the box.  If you guessed muddy brown, then you were correct. Another lesson learned the hard way.

Sunday, July 5, 2015

Scrapbook Your Life-Travel pages


     Today we are traveling back to our home from the family reunion in Texas.  I thought the travel scrapbook pages we made in my Scrapbook Your Life class a couple of months ago would be a great entry for today.

     The designer paper I used is called Typeset and is the only DSP that has returned from last year.  I love using it as backgrounds for cards. Here are some close-ups from the other accent pieces.
Unfortunately the stamp set, and punches have retired.  But the diagonal paper is a part of the Typeset designer paper.

The stamped images are from Tap Tap Tap and the photopolymer set called Wanderlust.  These sets are still available to purchase.

     I am going to try to take some pictures out the window of the place for these pages.  What pictures would you put on these travel pages?


Saturday, July 4, 2015

Happy 4th of July


     I was looking through some old cards today when I was organizing my stamping space and found this card.  I am not sure I can remember the names of the stamp sets used to make the card, but I knew I had to post it because of today, July 4th.  I hope everyone has a great day with those they love.  I hope you think of all that July 4th stands for as a part of your celebrations.
    We are in Texas at the Scheets family reunion.  It has been a couple of years since we have attended so I know we will have a wonderful time with family members we do not see very often.

Friday, July 3, 2015

Friday Mashup-Convention Swap


     It has been a long time since I have tried to create a card using one of the challenges that are out there.  So, when I was trying to figure out a swap to take to convention, I went to the Friday Mashup site to see what the challenge was this week. 


    There are two separate challenges each week.  This week  one challenge was to create a card using the above design.  The second was to create a card using 3 elements.  Or you could mash them up and create a card using both challenges.  Can you tell what my components were to mash it up?

1. I created a background using the new Color Me Irresistible paper which I sponged in Soft Sky ink and layered over some Soft Sky card stock.

2. My 3 elements are images from the new Christmas stamp set called Santa's Gifts.  I think I may use this card in my next Christmas Through the Year class.  What do you think?


Thursday, July 2, 2015

Project Life-Technique Book


     I love the idea of Project Life and tried to think of other ways to use the book and pages other than for scrapbooking.  My monthly club is a technique club and the ladies keep asking me for directions explaining the steps involved for each technique so they can remember at home when trying to duplicate the technique on their own.  Here is what I can up with.

1. As a thank you to each member of the club who has been with me for several years, I purchased a 6 by 8 inch album for them.

2. Now, each month when we meet I have papers ready for them that explain the technique we are working on.  I write down the steps, supplies needed and leave a space for them to include a small sample of the technique as a visual.

 
     As you can see there are many ways to use these great books and divider pages other than for scrapbooking.  HMMMM what technique shall I feature this month.
 

Wednesday, July 1, 2015

Mini Treat Bag card


     What's the big deal about this simple looking treat bag? 

1. I used a framelit to cut out the heart in the middle of the treat bag.  Then stamped over the cut out image using the new You're So Sweet stamp set.

2. The inside is just a piece of Whisper White cardstock with a trim that matches the bag. No big deal.  The big deal comes when you realize you can write a letter on the card stock in the middle.  A different slant on what a letter can look like.

Who would you send this card to?  I am thinking I could send mine to a friend you has moved to let her know I am thinking of her.