Use your imagination and picture me with my right foot propped up on 3 pillows, an ice pack on my ankle, a book on the right side end table, and of course some Stampin'Up! catalogs, my laptop on the left side end table, and a walker close by in case I have to hop to the bathroom. So, I guess you can see why I will not be posting this week. I am recovering from bunion surgery.
Have a wonderful Thanksgiving! Check back next week when I should be able to stamp every now and then.
Sue
Scrappin' and Stampin' It's what I love to do
Monday, November 21, 2016
Friday, November 18, 2016
Candy Cane lane designer paper-Fix it Friday


What is the same in both cards?
The Early Espresso card base,
The saying from the set called Stitched with Cheer
The Gingerbread Boy is part of the designer paper from the first card.
What is different?
The circles of the different designs in the paper pack
The red baker's twine,
The rhinestones
The white accent paper
I hope you have enjoyed seeing the many ways you can use Candy Cane Lane designer paper instead of a stamp set.
Have a great weekend and come back next week to see more Christmas card ideas.
Thursday, November 17, 2016
Candy Cane Lane designer paper-Template Thursday

1. Use the White Cards and Envelope pack for the card base.
2. Choose one of the colors from the designer paper for an accent color. I chose Crumb Cake.
3. Cut 3 houses from the designer paper.
4. Punch a circle and make a band from 2 coordinating papers.
5. Find a saying to use on each card.
You can easily make 20 Christmas cards ready to send.


Come back tomorrow to see how to fix up a simple card and make it a little bit fancier.
Wednesday, November 16, 2016
Candy Cane Lane designer paper-Wednesday Wow

Come back tomorrow to see a simple template that can be used to make oodles of Christmas cards.
Tuesday, November 15, 2016
Candy Cane Lane designer paper-Technique Tuesday

Come back tomorrow to see a very creative way to use this paper.
Monday, November 14, 2016
Candy Cane Lane designer paper-Miscellaneous Monday

As you know, I love using designer paper on my cards. Well, this paper called Candy Cane Lane is full of cute little images. When I ordered the paper I decided not to order the matching stamp set and just use the paper for my cards.
This was a swap I got at OnStage where the creator cut out the cute little house and made that the high point of the card.
Come back tomorrow to see a sample of a double z card using this same designer paper.
Friday, November 11, 2016
OnStage 2016 swap

1. The basic color is Night of Navy, always has been a favorite.
2. The layers of contrasting colors make the center accent piece really pop.
3. Anything that is a silhouette is a favorite image.
Hasn't this been fun. I have lots more cards the I swapped or made and am set for Christmas with ideas to share. Come back next week to see what card I will feature. Have a great weekend. And Happy Stamping.
Thursday, November 10, 2016
OnStage 2016 swaps

1. The card does not need much on it because the fox is so cute.
2. The use of just two basic colors adds to the simpleness of the card.
3. Love the use of Swirly Birds for the snow feature.
4. The random polka dots of the designer paper make it look like a small snowstorm and just tie the card together.
Come back tomorrow to see the card that was the first to jump out at me from all my swaps.
Wednesday, November 9, 2016
OnStage 2016 swap

1. She used Watercolor paper, and probably an aqua painter and painted the leaves. These were precut for us when we were going to make the card.
2. Once again the Cable Knit embossing folder was used. She also spritzed all over the white embossed paper with Garden Green ink. It has a awesome splotchy look.
3. The saying just pulls this entire card together. I loved looking at it and making it.
Come back tomorrow to see a card made by one of my roommates who has just joined Stampin'Up! a few months ago.
Tuesday, November 8, 2016
OnStage 2016 Swaps

1. The Black background popped the rest of the card out, and I never would have thought to use black as a background color for a Christmas card. It does not show up in my picture but the background of the card has been embossed with the Cable Knit embossing folder.
2. The gold glittery tree was made by first cutting out the tree, them placing a piece of Gold Shimmer paper behind the tree.
3. The rest of the card went together quite easily.
Come back tomorrow to see the WOW card I chose as a favorite.
Monday, November 7, 2016
OnStage 2016 Swaps
Such a fun weekend I had. I traveled with 3 fellow demonstrators to Madison, Wisconsin for a one day Stampin'Up! event called OnStage Local. The live event was held in Brisbane, Australia. I would love to have traveled to attend the live event, but just could not work that out at this time.
Along with learning some great ideas to use in my business I was able to swap cards with other demonstrators attending. And if that was not enough stamping, then after the event was over at 6:00 PM we went to a shoebox swap and stamped even more cards.
So, I looked through all my swaps and shoebox cards and chose my top 5 favorites to feature this week. If you want to see all the cards I received then tune in to Facebook at 6:00 and I will have a live video of all the swaps.
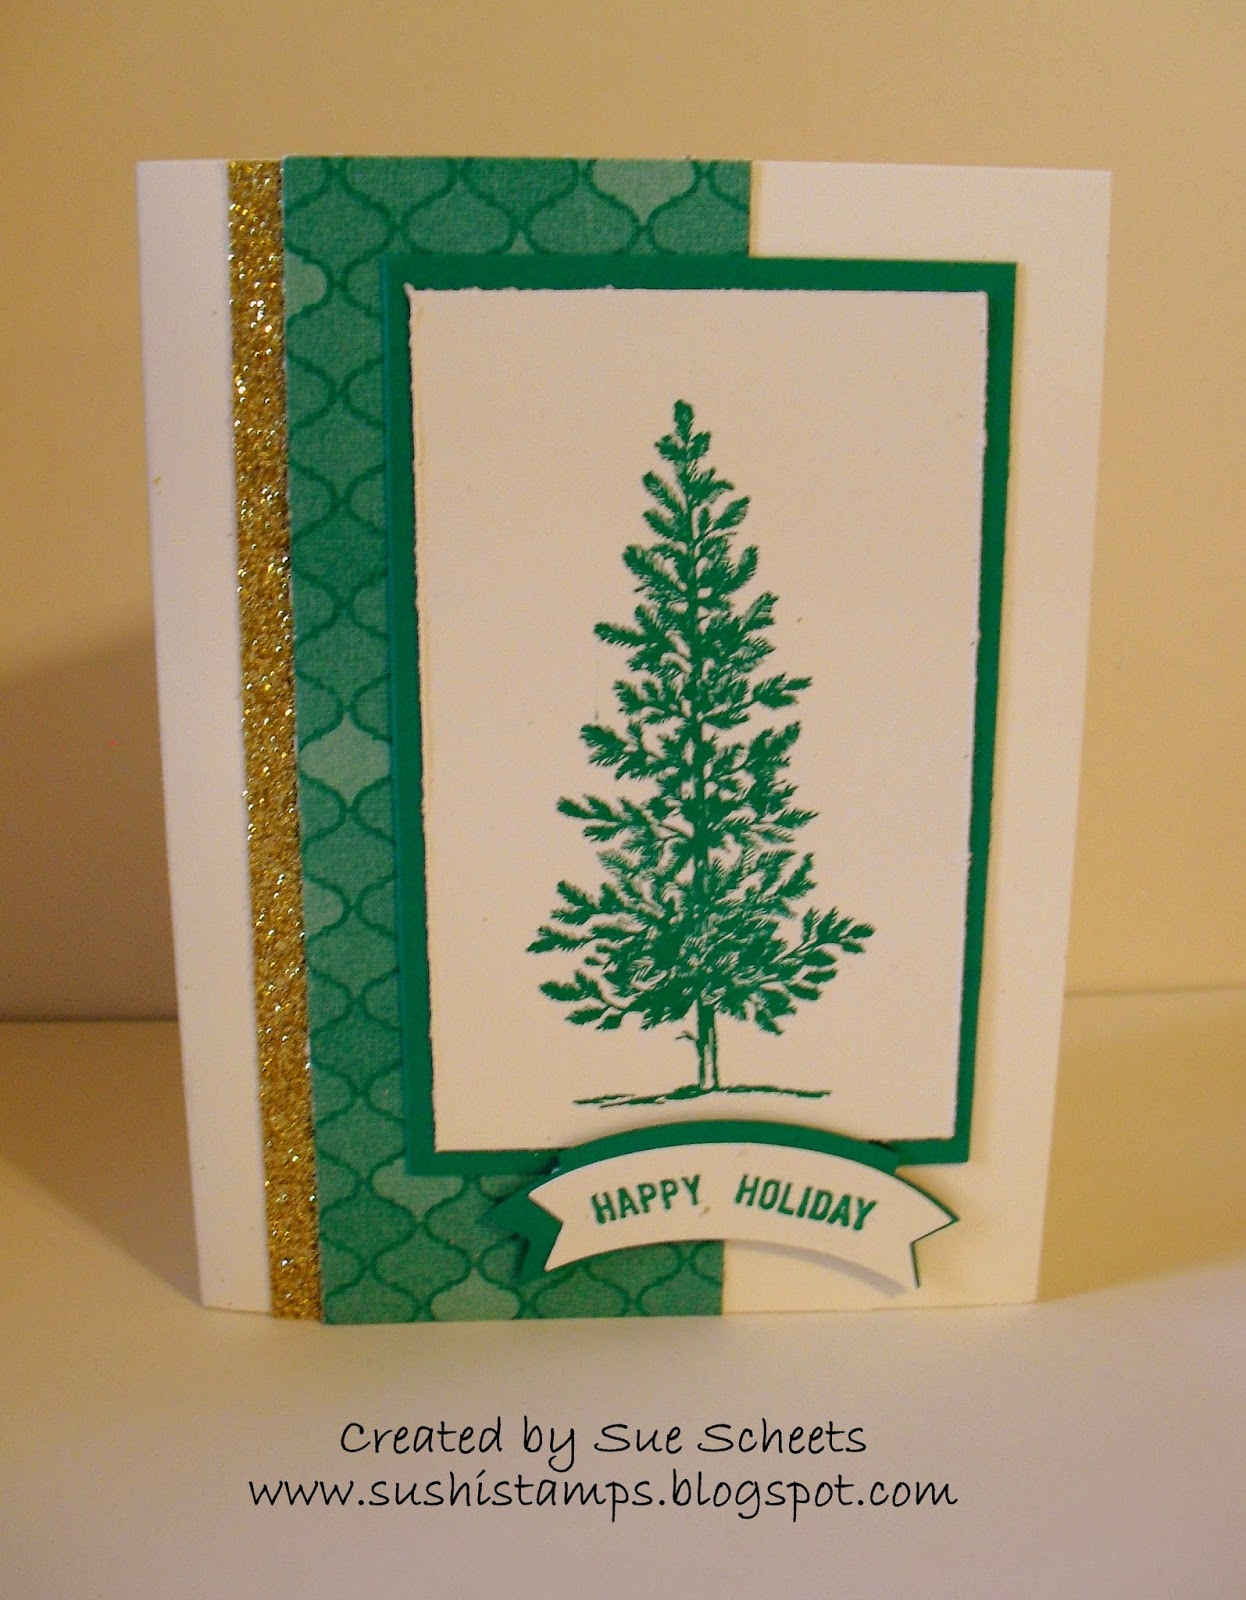
Today's card was one I made at the Shoebox swap. The card was created by my friend Linda. She had all the parts in a box and I was able to duplicate her card. Here is what I like about this card.
1. It is simple.
2. It is all one color-Emerald Envy.
3. It uses a favorite stamp set-Lovely as a Tree.
4. It is stunning and caught my eye right away.
Come back tomorrow to see another great swap from OnStage Local 2016.
Thursday, November 3, 2016
Home Decor-Decorate Your Own Tree
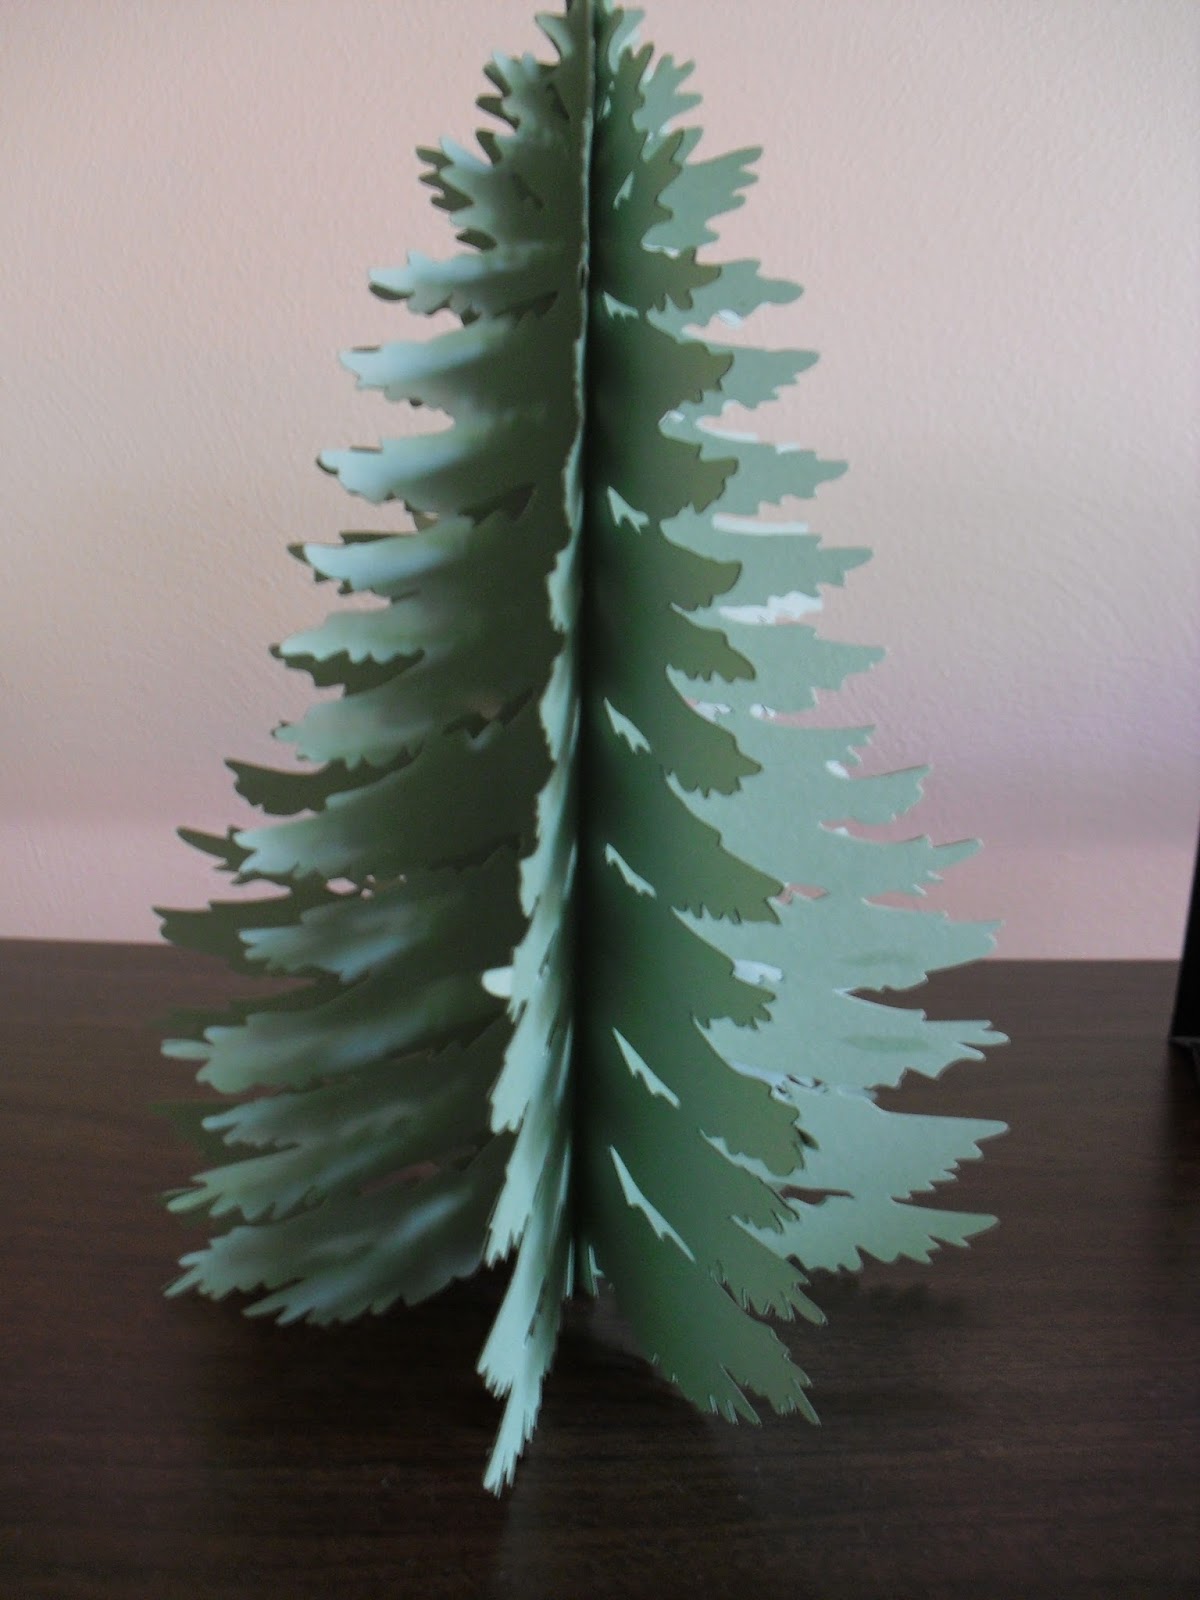
Does this tree look plain to you? Well, come put one together and then decorate the tree with the accents of your choice. Choose from ribbon, ornaments, chains, and whatever you think will make it yours.
Come back tomorrow to see some ornaments you can make at my Home Decor class on November 12th 10-3:30.
Wednesday, November 2, 2016
Home Decor-Advent Calendar

I like to prepare for Christmas with an Advent Calendar. This home decor piece was made using several Project Life pieces.
Individual Pieces made using Hello December 2016 Card Collection
Accents on the cards made using Hello December Accessory Pack
Cards are clipped onto Baker's Twine using the Gold Binder Clips from the annual catalog.
Cost of this project is $50 and includes everything but the frame.
What can you use this for?
Take a picture of some Christmas activity each day of December. Then you are already to create a scrapbook for the month. The cards will make great accent pieces in the scrapbook.
Behind each card list an activity you can do as a family for each day of Advent.
Do something kind for someone each day of Advent and take a picture or journal about it.
List a Bible reading behind each card for Advent.
You can think up even more ideas to make this an interactive Christmas decoration.
Come back tomorrow to see the final project you can make at the Christmas event held at my house on Saturday, November 12th from 10-3:30.
Tuesday, November 1, 2016
Home Decor-Wall Art

Do you like to decorate your home for Christmas? I do and think it is fun now and then to create something other than cards using paper and stamps. I saw this idea on the cover of the Stampin Success magazine that we get as demonstrators with Stampin'Up! It was fun to make and easy to boot. When can you make this?
Decorate your home for Christmas
Saturday, November 12th 10:00 to 3:30
There are 3 projects to choose from
Come when you want and stay till the projects are finished
RSVP by Monday, November 7th
This framed tree project will cost $10 if you bring a frame, $25 if I provide a frame similar to this picture.
Come back tomorrow to see another project you can make on this fun crafting day
Subscribe to:
Posts (Atom)